
Apple tarte tatin
Tried and true
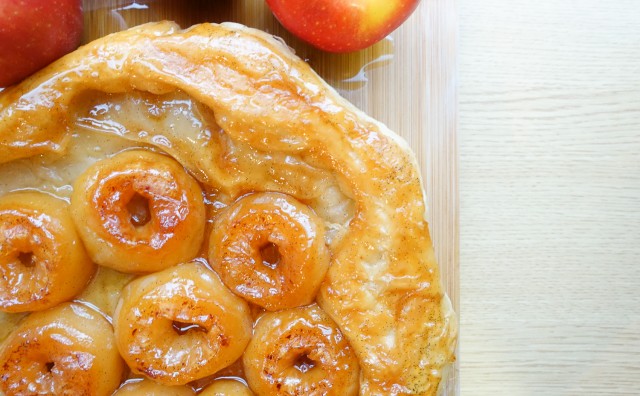
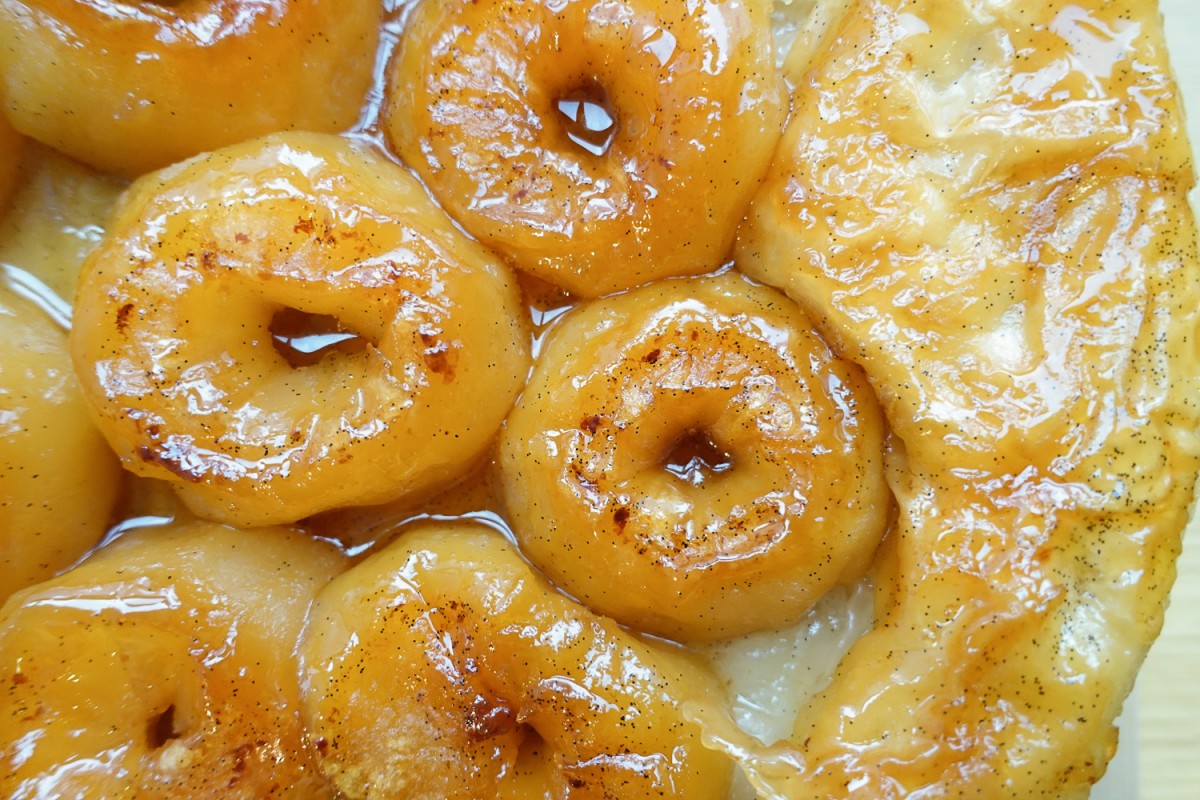
There’s nothing quite like warm apple, gooey caramel, and flaky pastry. This tarte has all three and is absolutely delicious. It’s a bit of a trickier recipe but absolutely worth the extra effort for a special occasion or a treat when it’s cold and miserable outside. Try to keep the pastry as thin as you can without it breaking and fill the pan tightly with apples so they stay nicely in place when you turn out the tart.
Method
Step 1
Preheat your oven to 190˚C. Lightly dust a work surface with flour and lay out the three sheets of puff pastry. Cut each in half and lay on top of each other so you have 6 halves sitting in a stack. Take your rolling pin (or a bottle of wine!) and roll out in a rough circle until about 5 millimetres thick. Set the pastry aside to use later once the caramel and apples are cooked.
Step 2
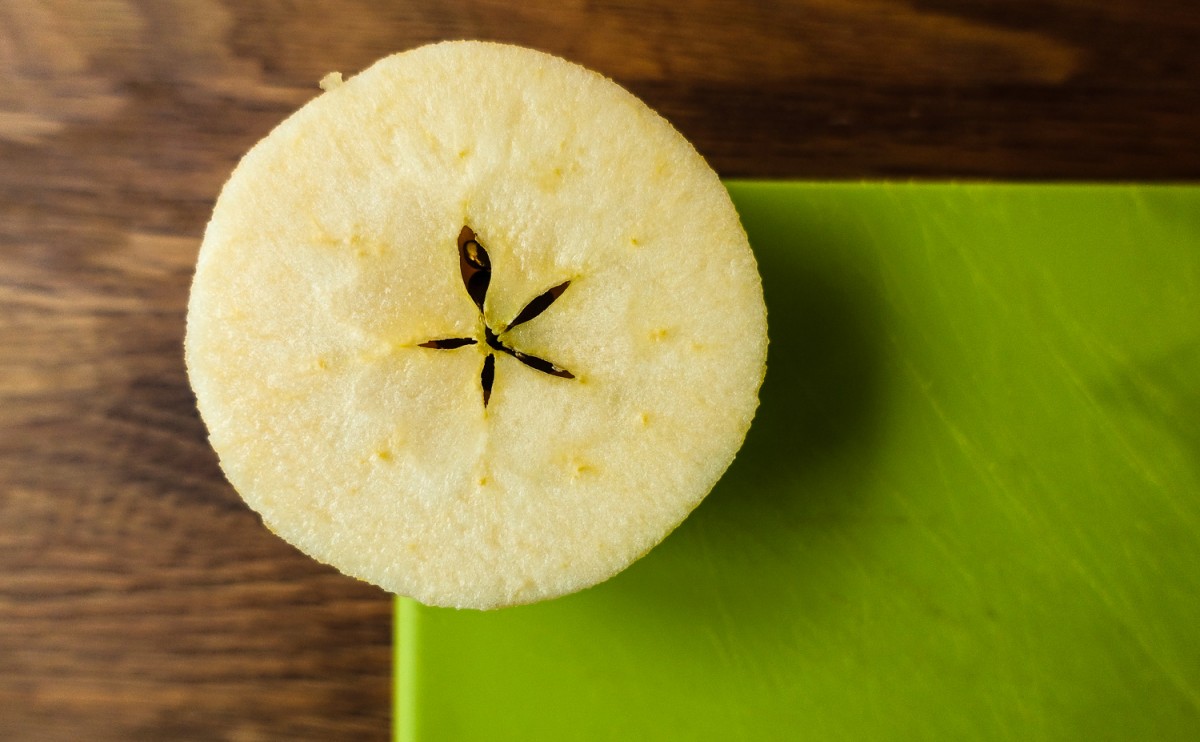
Peel your apples and cut in half horizontally, removing the pips and core with a small knife or teaspoon.


Step 3
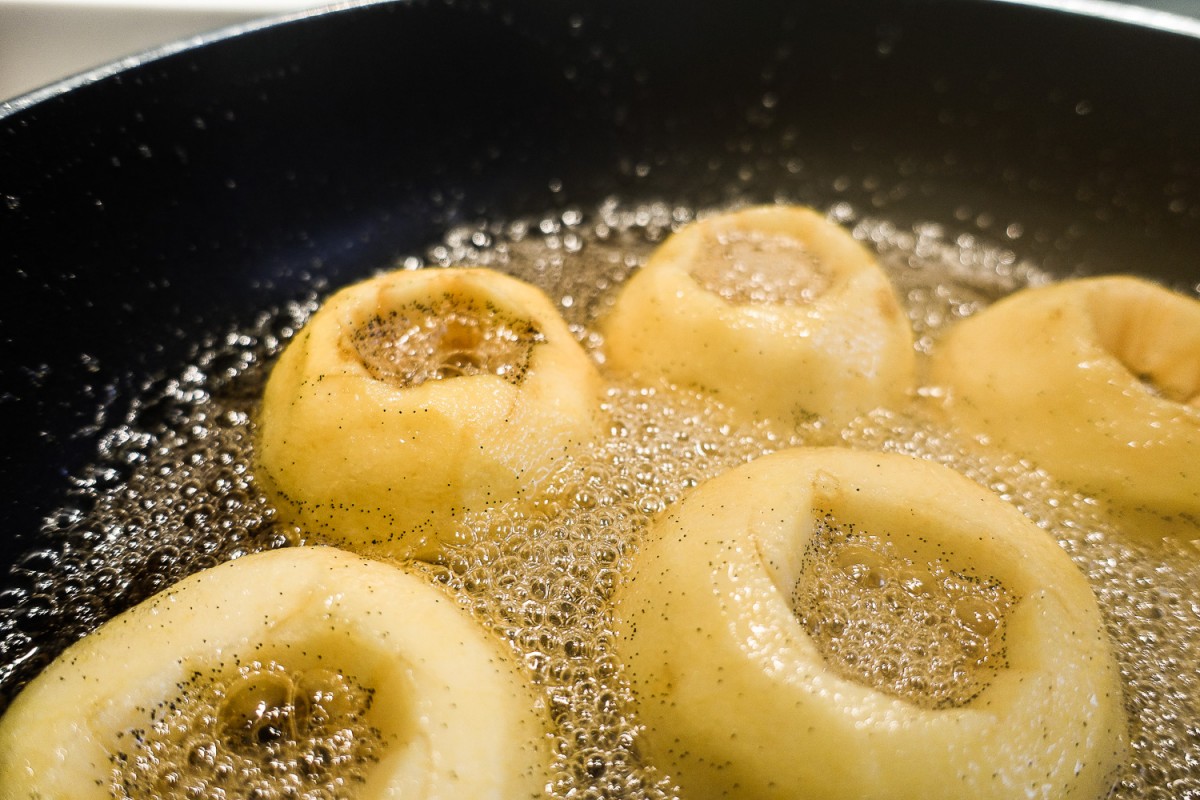
Take an ovenproof pan (a pan that can go both on the stovetop and in the oven) and put on a medium heat on the stovetop. Add the bourbon, vanilla pod and seeds, and sugar, and heat until the sugar is dissolved. You won’t need to stir this and the mixture will start to bubble quite vigorously – just remember not to touch or taste it as hot caramel will give you a nasty burn!
Step 4
Once the caramel looks and smells delicious – it should be a lovely chestnut brown – add your halved apples. Carefully stir everything in the pan and cook for about 5 minutes or until the apples start to soften. I flip my apples about half way through so they are fully coated with the lucious caramel.
Step 6
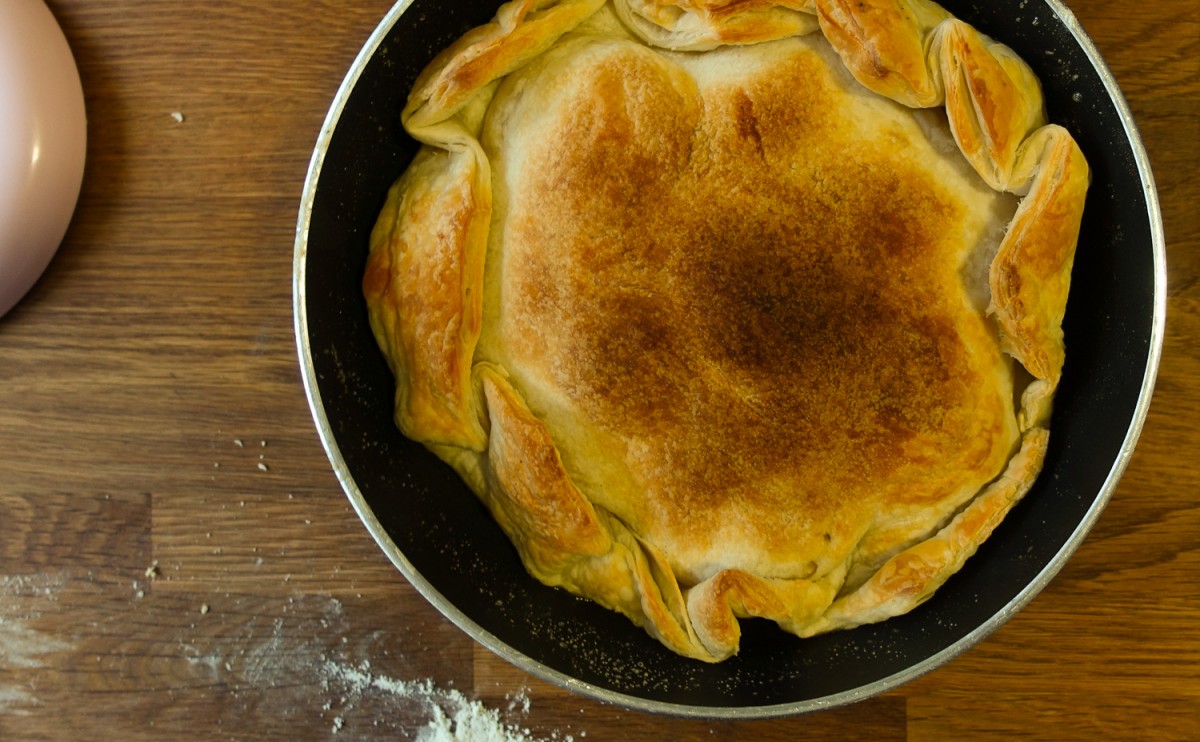
Remove the pan from the heat, scatter over the cubed butter and gently lay the pastry over the top, pushing it down around the edges using a wooden spoon. Fold in any outside edges into the pan.
Step 7
Bake the tarte Tatin for about 25 to 30 minutes, or until golden, with crispy caramel pieces bubbling up from under the edges. Take it out of the oven and turn it out onto a board or plate that’s bigger than the pan – make sure you have oven mitts/tea towels to hold the pan as you flip it. The tart is most delicious when eaten warm with ice-cream or clotted cream.
Notes
- Depending on your ovenproof pan, the cooking time could vary (you may need longer) – you can check if the pastry is cooked through by gently lifting a corner and testing the underside, while still in the oven.
- I prefer using sweet apples like royal gala but you can use any types of apples that you like to eat.
Recipe adapted from Jamie Oliver’s The world famous tarte tatin as seen on www.jamieoliver.com
Dutch spiced biscuits
Tried and true
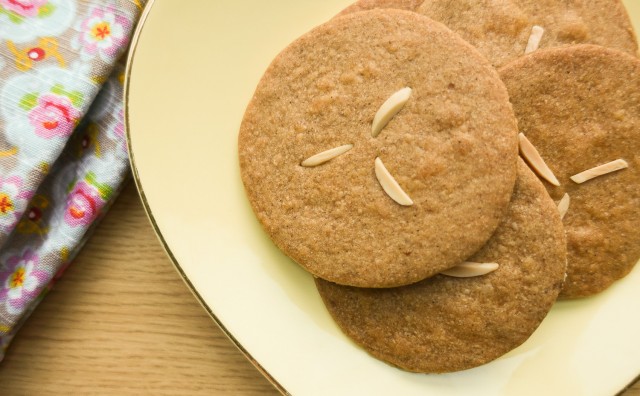
These deliciously spiced biscuits are from a recipe for Dutch biscuits called speculaas. They’re similar to gingerbread with a crisp, crunchy texture and a delightfully warm spiciness. I bake them often as they’re easy and don’t leave much mess in the kitchen (which is usually my downfall). They’ll last a few days in an airtight container – unless hungry little fingers get to them first!
Method
Step 1
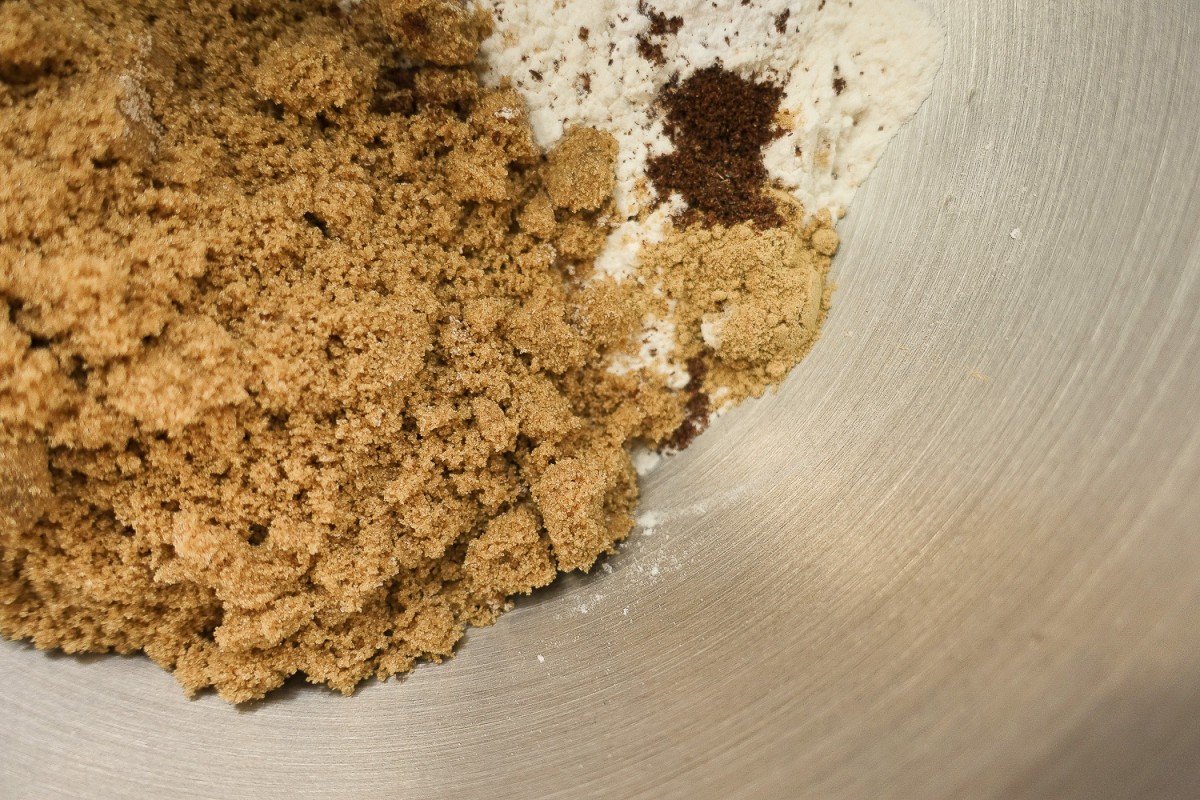
Process flour, baking powder, sugar, spices, salt, and butter in a food processor until the mixture forms fine breadcrumbs. Add 1 tablespoon of iced water and process until mixture just comes together.


Step 2
Turn the mixture out onto a work surface and form it into a ball with your hands. Cover in cling film and put in the refrigerator for 30 minutes to firm up.

Step 3
Preheat the oven to 170c. Cut the dough into 2 pieces and roll out on a lightly floured surface until thin – I like my biscuits about 5mm thick, but you can make them thicker (just note you’ll need to cook a little longer otherwise they’ll be soft in the middle). Cut out biscuits using a cookie cutter and move them onto a tray lined with baking paper, using a fish slice to keep the delicate biscuits in their shapes. Pop back in the refrigerator for 20 mins to cool – this helps them keep their shape in the oven.

Step 4
Bake for 20 minutes or until the biscuits are a light golden brown, then move to a cooling rack. The biscuits will still be soft when you take then out of the oven but will harden up while they cool. I enjoy eating these by the gobful with a cup of tea, or crumbled over ice-cream or custard.
Notes
- If you don’t have a rolling pin, a bottle of wine works just as well.
- If you don’t have a cookie cutter, you can use a glass or mug to cut out the biscuits to any size you like.
- You can decorate the biscuits with almonds (whole or sliced), just press them into the biscuits just before you pop them in the oven.
Recipe adapted from Feast magazine, December 2011, issue 4, as seen on www.sbs.com.au
Portuguese custard tarts
Tried and true
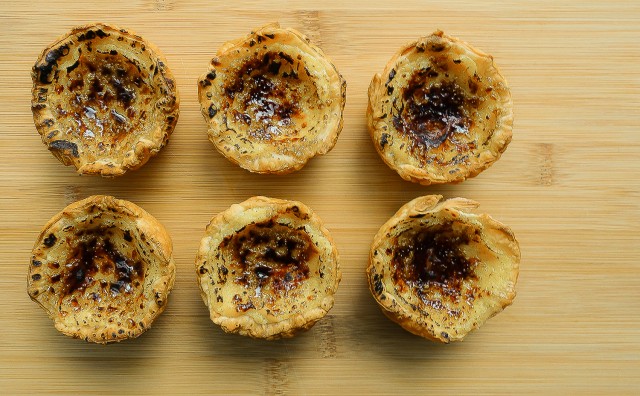
I first made these custard tarts after my husband returned from a business trip to Lisbon and raved about the amazing pastries he had. The concept is quite simple – custard inside a pastry case – and I found this recipe to be so straightforward that I’ve made it again and again with the same excellent result every time. The tarts always look so tempting and are delicious with a crisp, burnt sugary top.
Method
Step 1
Preheat oven to 200°C and lightly grease a 12 hole muffin tin (if like me you don’t have a 12 hole muffin tin, use a 6 hole muffin tin and do two batches).
Step 2
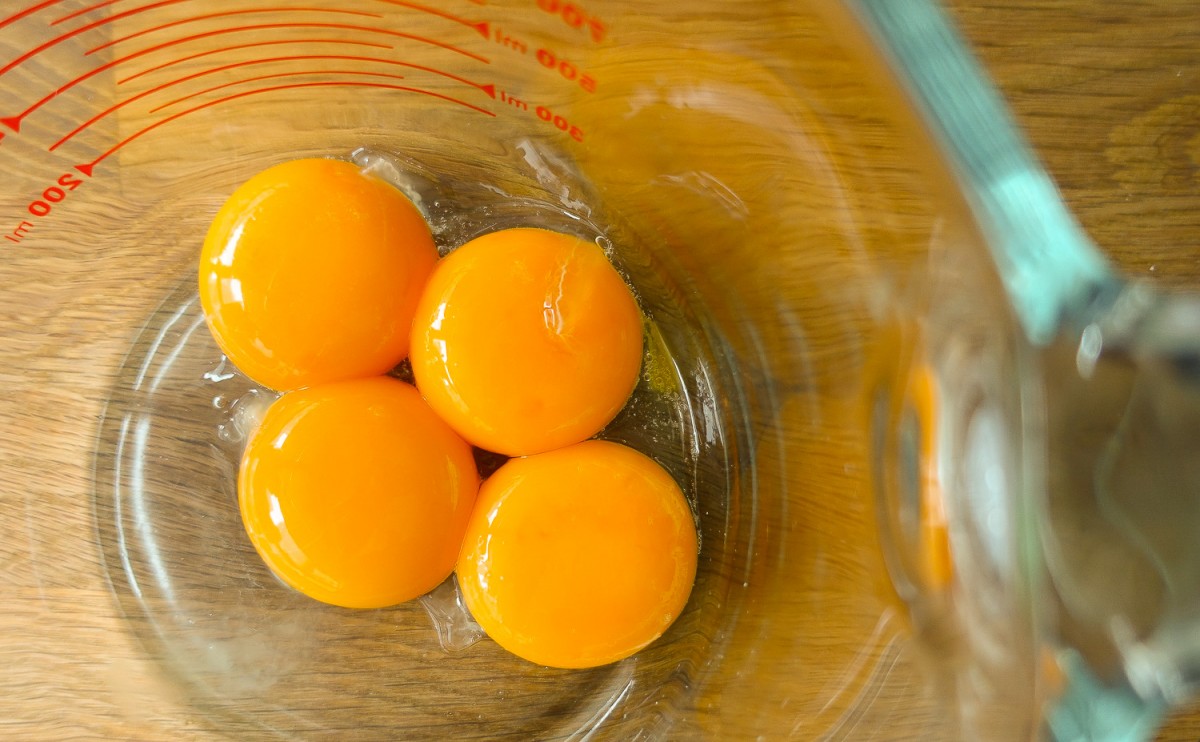
Whisk egg yolks, sugar, and cornflour together in a saucepan until fully combined. Gradually whisk in milk until the mixture is smooth. Whisk in the vanilla seeds.

Step 3
Cook over a medium heat, stirring constantly, until the mixture thickens and comes to the boil. This will take a little while so be patient, and remember to keep stirring. Once the custard has boiled, immediately remove from the heat and transfer into a bowl. Cover the custard surface in cling film and leave it to cool.
Step 4
Cut the pastry sheets in half, and place one half on top of the other so you have 2 rectangles. Leave the pastry to rest like this for about 5 minutes.
Step 5
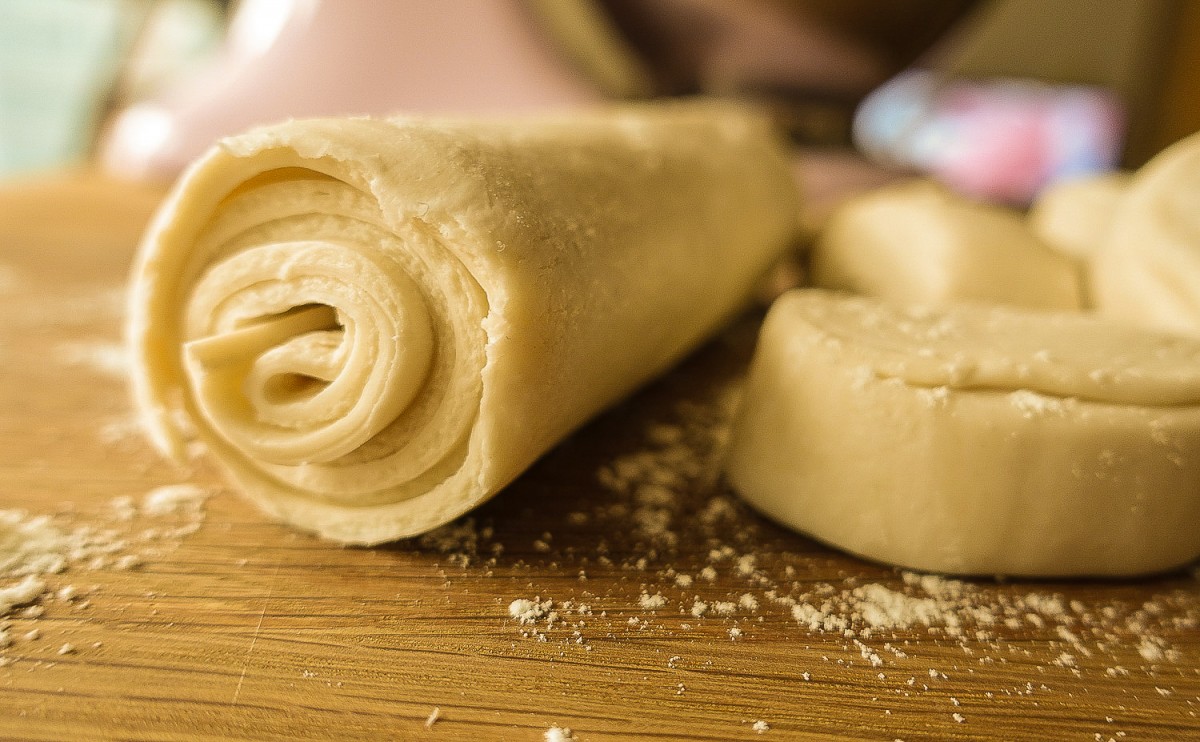
Roll up each pastry rectangle from the short end so it forms a log, and slice each log into 6 pieces (about 2cm wide per piece).
Step 6
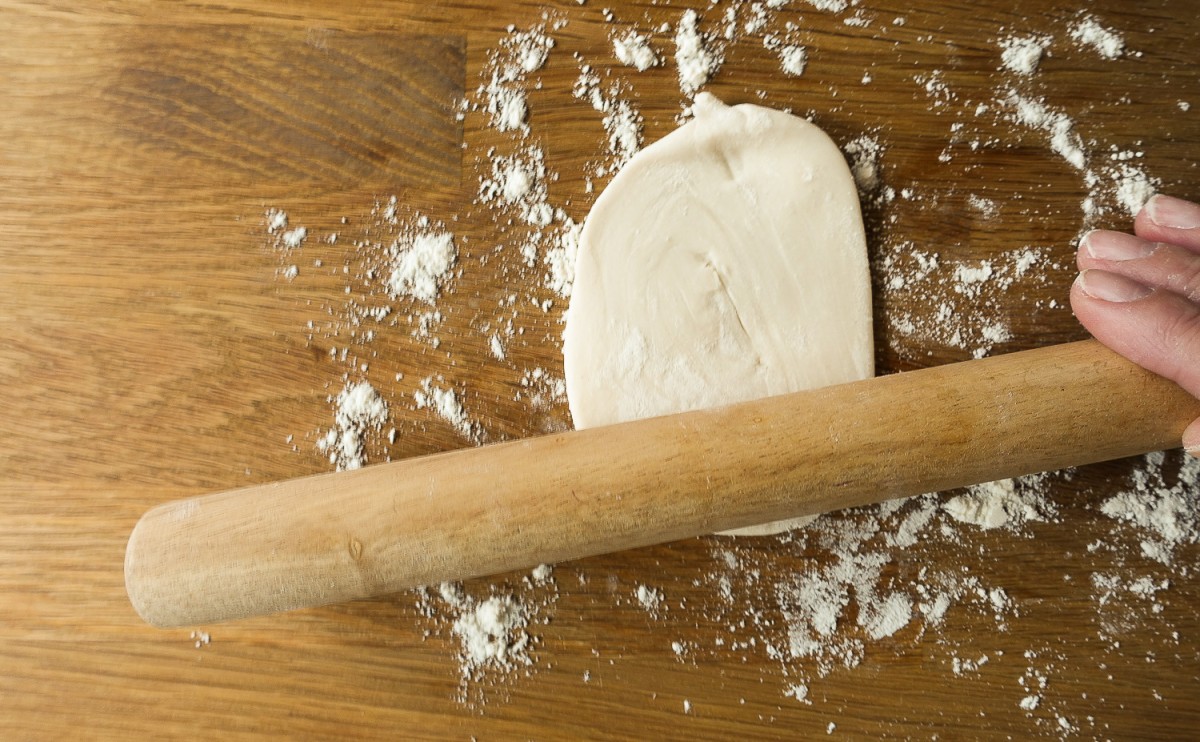
Lightly flour a work surface and take each of the pastry discs, rolling out into a thin circle about 10cm in diameter.
Step 7
Line the muffin tins with the pastry circles, trimming the edges off with a sharp knife so the pastry sits neatly around the top. Don’t worry if the edges are a bit rough, this will help the pastry to crisp up nicely in the oven. Fill the pastry about a third with the cooled custard – it will rise up while in the oven but will reduce back down again when cool, so make sure not to overfill.
Step 8
Bake for 20 – 25 minutes or until golden. Cool the tarts in the tin for about 5 minutes then transfer to a cooling rack.

Notes
- If you don’t have a rolling pin, a bottle of wine works just as well.
- Use the leftover pastry trimmings to make these 3 ingredient Nutella croissants or if you have leftover custard, these easy Danish pastries.
- If you’re feeling adventurous you can sprinkle the tops with demerara sugar and crisp up under a hot grill or using a blow torch.
- These are best eaten on the day they’re made – storing in the fridge overnight will make the pastry soggy, but if needs must, crisp them up again in the oven.
Recipe adapted from www.bestrecipes.com.au
Chilli sausage rolls
Tried and true
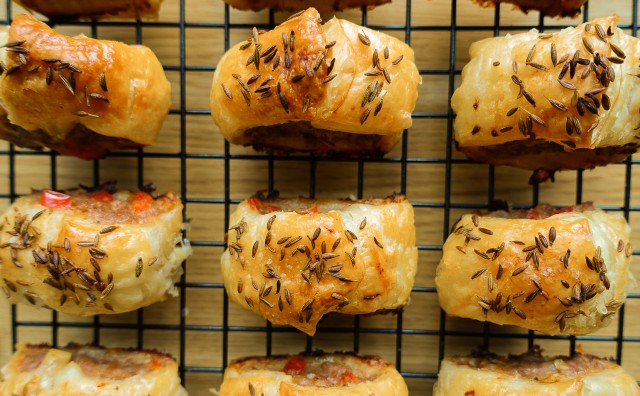
These sausage rolls are tasty little parcels of moist sausage, warm chilli, and deliciously toasty cumin packaged in crisp, golden pastry. Very easy to prepare and even easier to eat, I make these every time we have a get-together with friends and they’re always the first to go.
Method
Step 1
Preheat the oven to 180°C, gather your ingredients and a large bowl.

Step 2
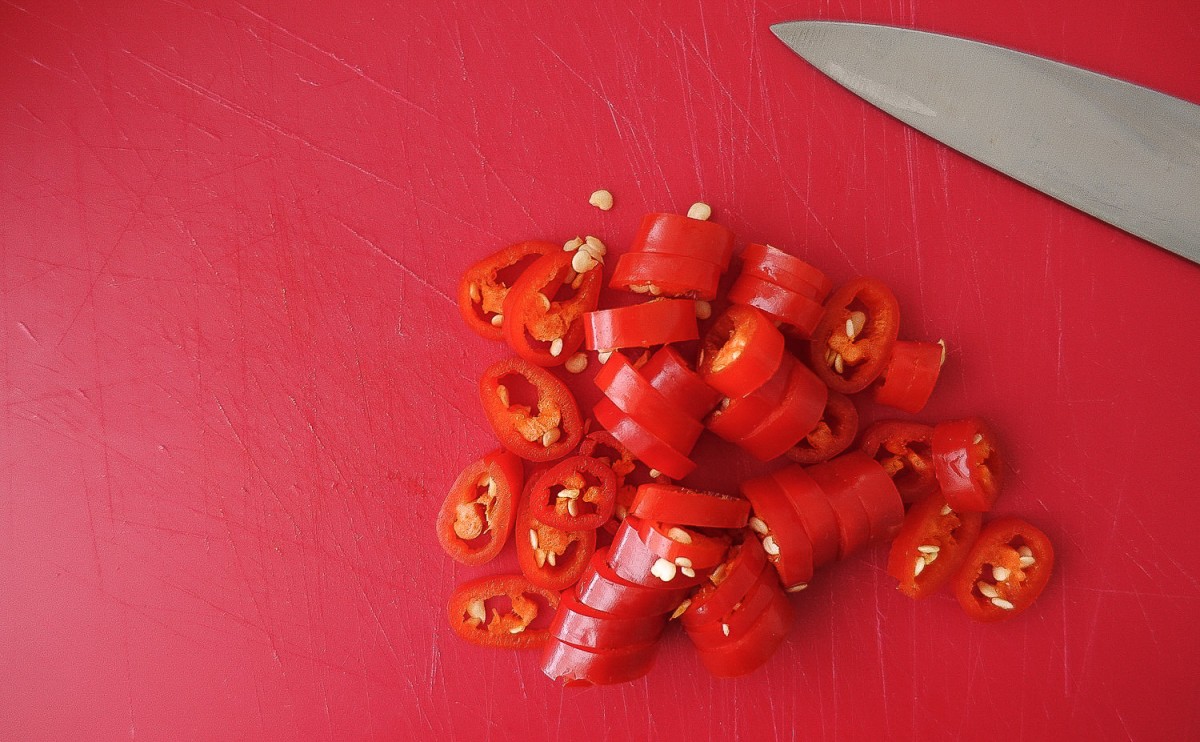
Finely chop the red chillies (leave the seeds in if you like heat, otherwise scrape them out with a teaspoon and discard) and put in the bowl. Add the paprika and a pinch of pepper.

Step 3
Take the sausages and slide them out of their skins, putting the sausage meat into the bowl. Mix all the ingredients together with your hands until everything is well combined.
Step 4
Cut both pastry sheets in half and place on a lightly floured work surface. On each piece, place a quarter of the meat mix and mold into a sausage shape along the middle of the pastry.
Step 5
Take the eggs and separate the yolks into a bowl, and whisk together with a splash of milk. Brush this onto the pastry either side of the meat and press down well to seal, then coat the outside of the pastry with the egg mixture.
Step 6
Sprinkle the cumin seeds over the rolls and throw over a pinch of sea salt – sprinkling from a height will create a more even distribution. Slice the sausage rolls into about 4cm pieces and arrange on a baking tray.

Step 7
Bake for 30-35 mins or until puffy and golden brown. Transfer the rolls to a cooling rack and enjoy!


Notes
- You want at least a couple of centimetres of pastry overlap on top when sealing up the rolls, pressing down to seal, so they don’t come apart in the oven (but if this does happen to me these are known as the baker’s spoils).
- If your sausage rolls are a bit greasy on the bottom, try blotting them on a couple of folded paper towels before transferring to a cooling rack. This will help the rolls to dry out and avoid the dreaded soggy bottom.
Recipe adapted from Jamie Oliver’s chilli sausage rolls as seen on www.jamieoliver.com
Crusty cob loaf
Tried and true
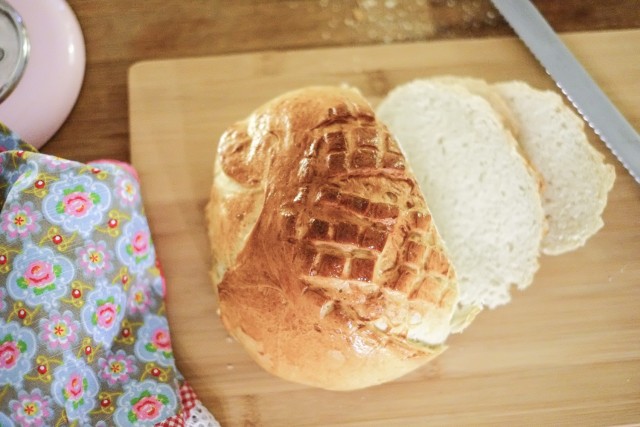
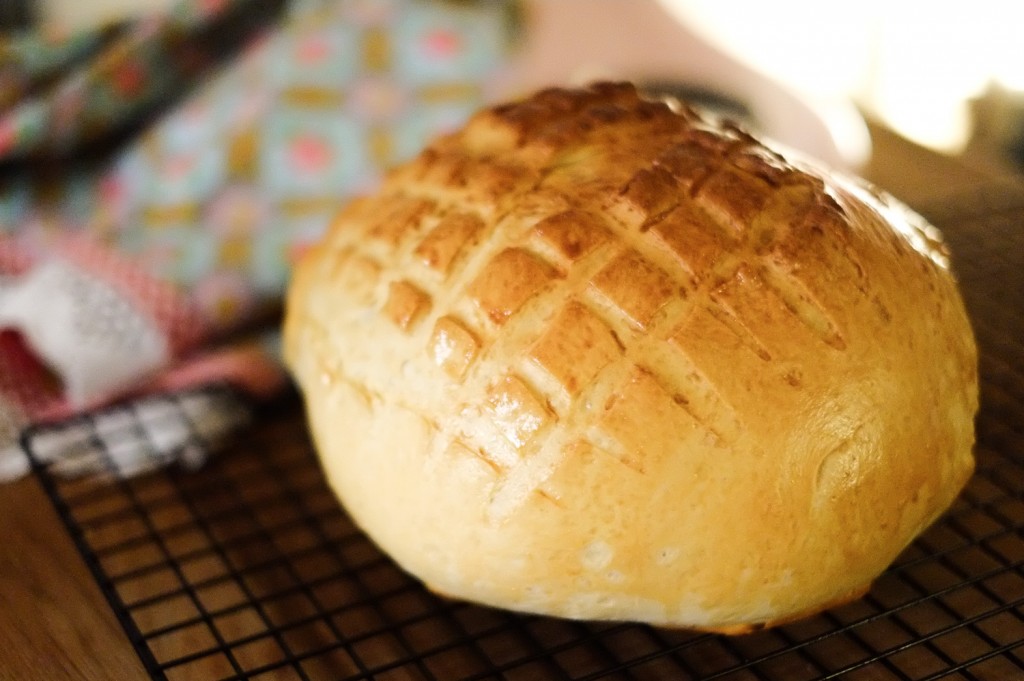
If you love eating bread, like me, you should definitely be making your own as much as you can. This recipe for a crusty cob loaf is simple enough for even the most novice bread maker; it was the first loaf I ever attempted (I’ve been making it most weekends ever since) and the hardest part of this recipe is waiting for the loaf to cool down to eat. You don’t need any fancy equipment or a bread tin, though I sometimes use a mixer to knead the dough – all that’s required is the basic list of ingredients above and a bit of elbow grease. Hope you enjoy it as much as I do!
Method
Step 1
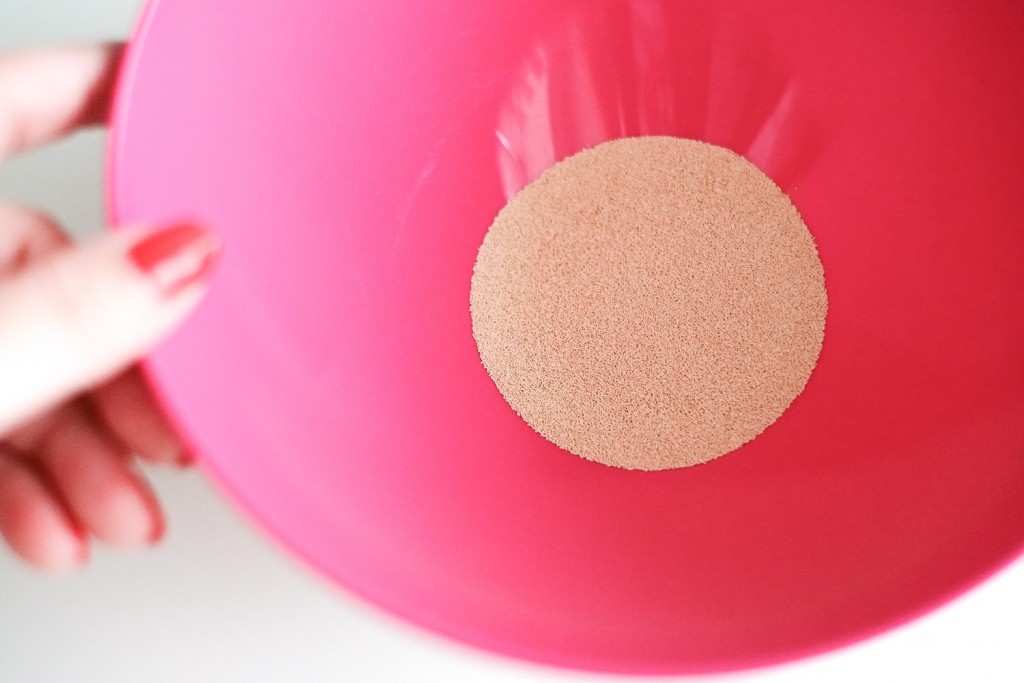
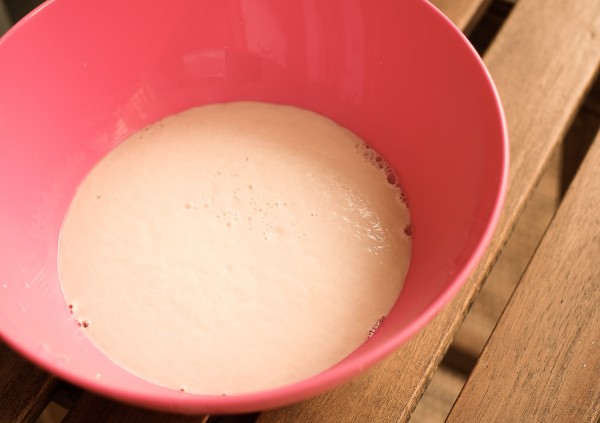
Put yeast, sugar, and warm water in a bowl or jug and whisk with a fork until the yeast has dissolved. Stand in a warm place for 10 minutes or until a thin layer of froth has formed on the top.
Step 2
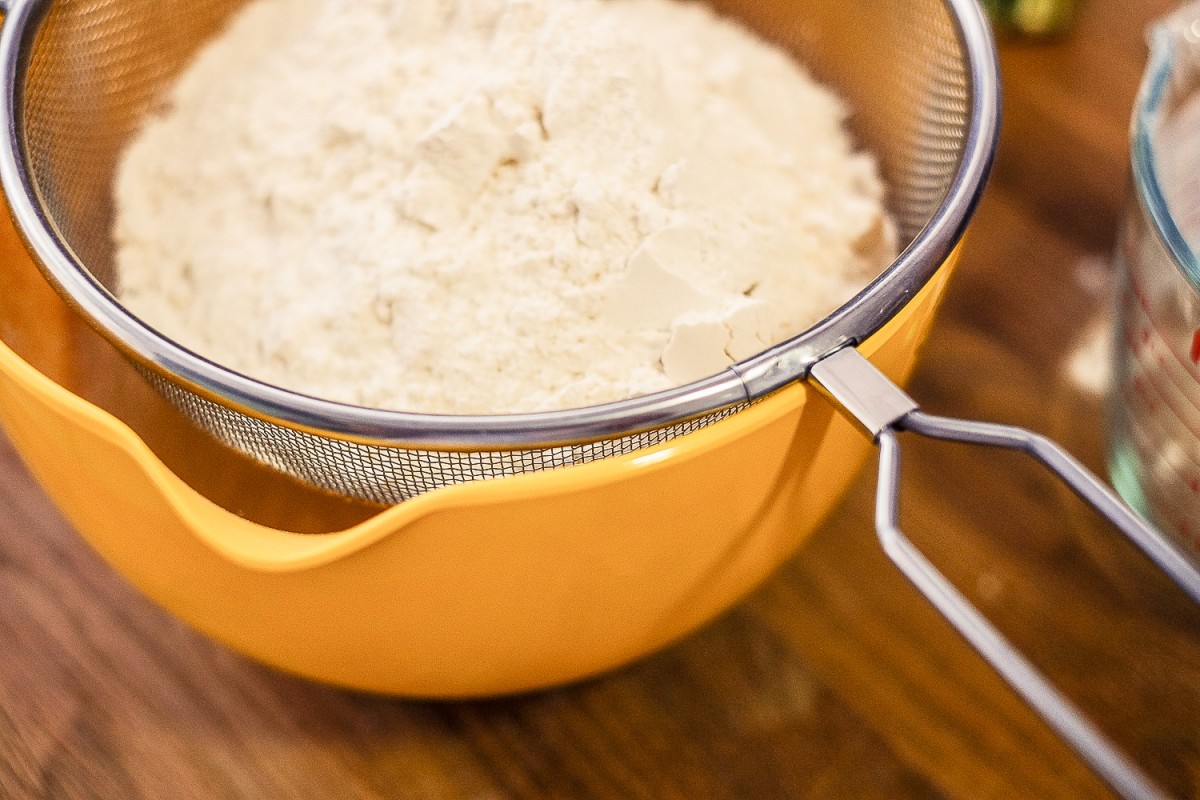
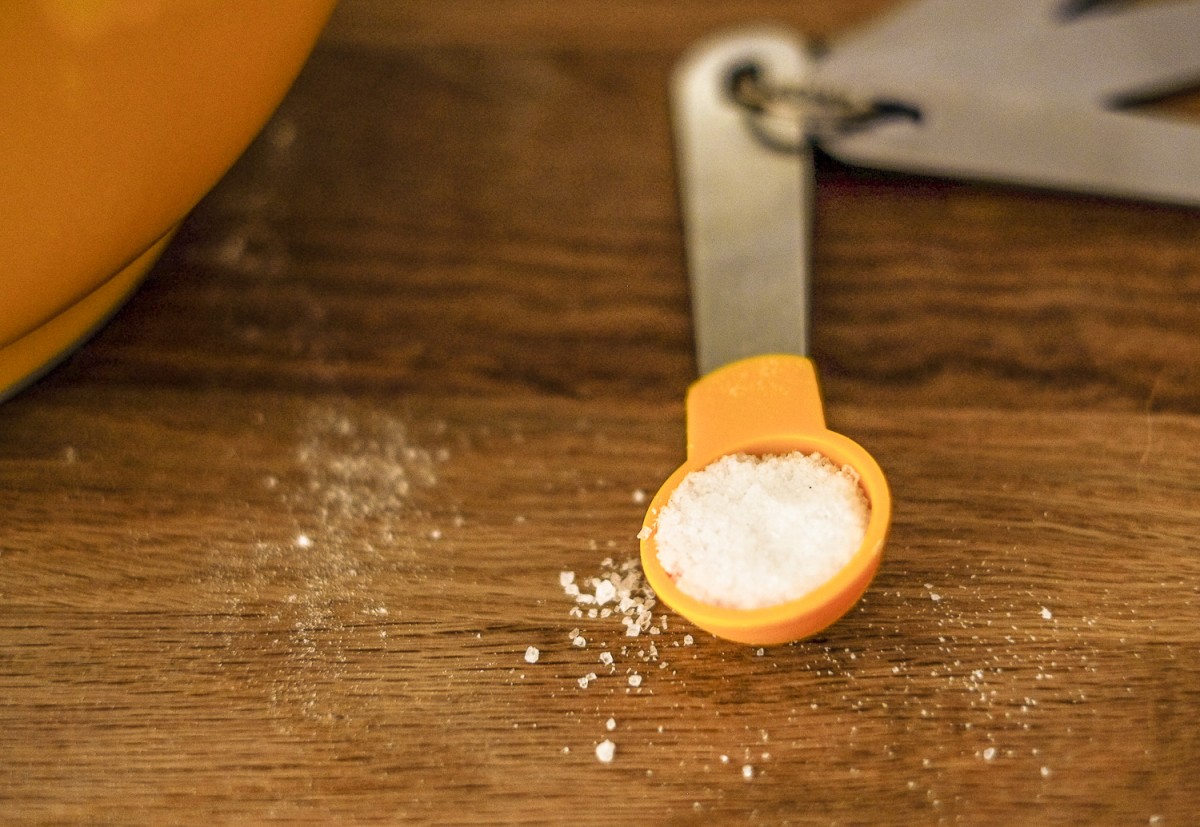
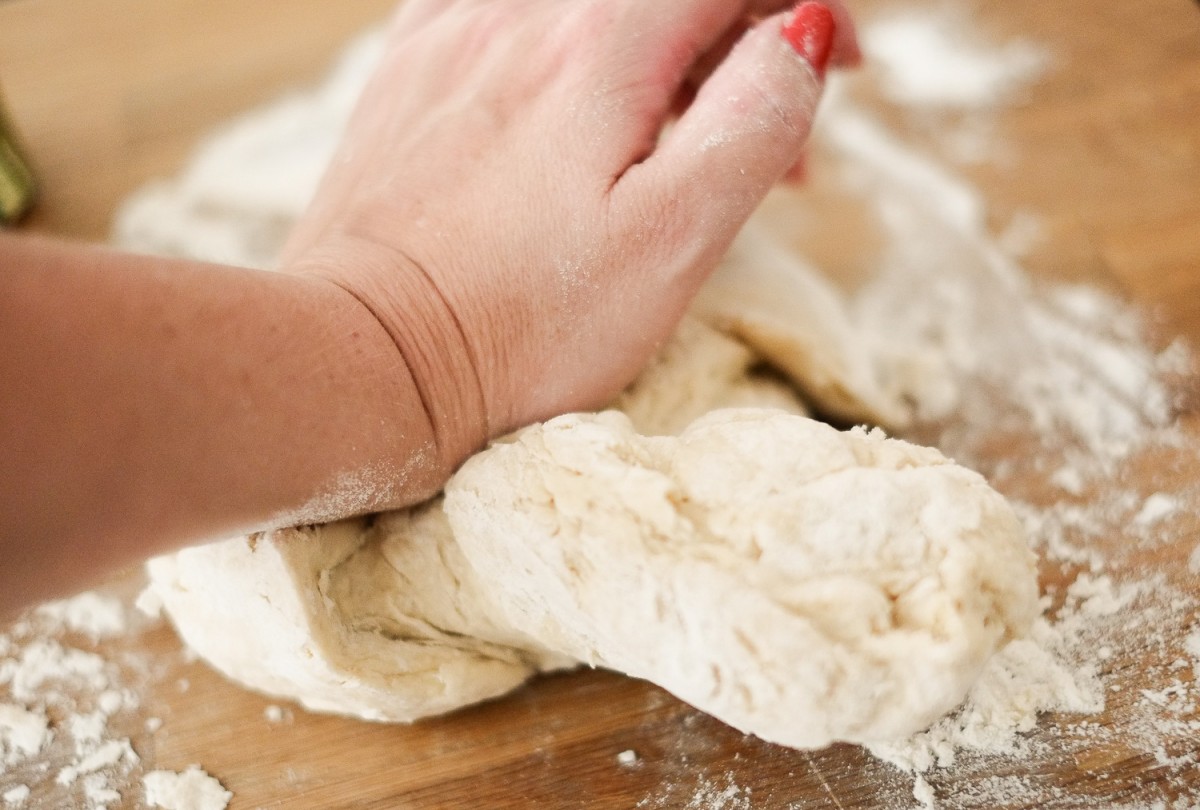
Sift flour into a large bowl then add salt, yeast mixture, and olive oil. Mix ingredients together to form a soft dough – you can do this using a mixer, a wooden spoon, or your hands. Tip the dough out onto a lightly floured surface and knead for 10 to 15 minutes or until smooth and elastic. You’ll know the dough is ready when you can stretch a small piece gently without it breaking.
Lightly grease a clean bowl with olive oil and place the dough inside. Cover the bowl with cling film and set aside in a warm place for 1 hour or until the dough has doubled in size.


Step 3
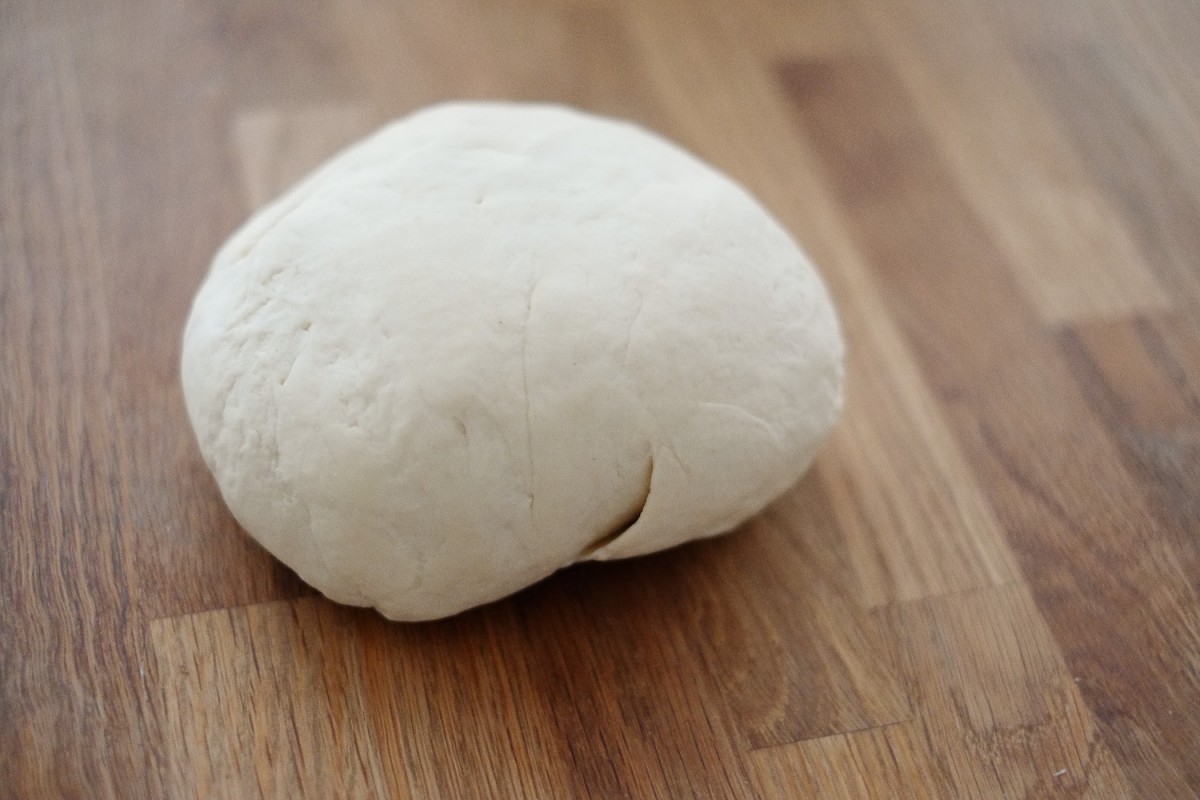
Tip the now-risen dough onto a lightly floured surface and punch the dough with your fists to remove the air. The dough will reduce in size quite a bit but don’t worry, this is normal. Knead the dough for a few minutes until smooth.
Step 4
Grease a baking tray well with olive oil cooking spray or olive oil. Shape the dough into a 15cm round loaf and place it on the greased tray. Cut a shallow criss-cross pattern in centre of dough with a small, sharp knife.
Step 5
Preheat your oven to 200°C. Cover the loaf with lightly greased cling film and set aside in a warm place for 30 to 40 minutes or until the dough has almost doubled in size.
Step 6
Brush the top of the dough with the beaten egg, taking care not brush too hard or you will knock out some of the air that has come in during the last rise. Dust the top of the loaf with flour (this helps to stop the top from burning in the oven), then bake for 35 to 40 minutes.
When the time is up, test if the bread is done by flipping it upside down (I use a clean tea towel to hold the loaf) and knock on the bottom. If it sounds hollow, the loaf is done. If not, put it in for another 5 minutes and repeat.

Notes
- If the top of your bread gets too dark before the end of the cooking time, whip out some aluminium foil and loosely cover the top of the loaf, then resume the cooking time through to completion.
- Bread, just like meat, needs resting time before it’s served. Make sure you allow at least 20 mins for your loaf to cool before you tuck in, to allow the moisture to settle and the crust to firm up.
Recipe adapted from Super Food Ideas Cob Loaf as seen on www.taste.com.au