
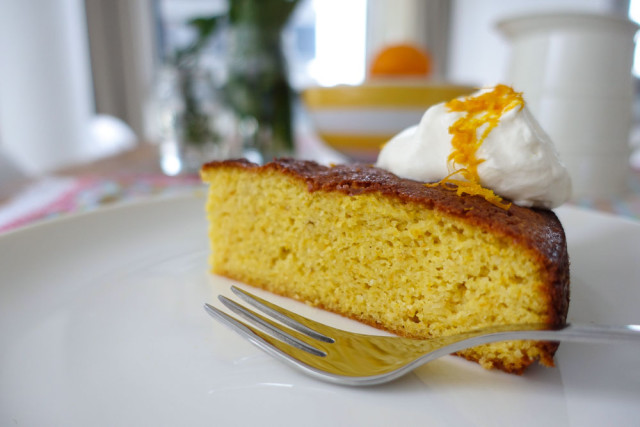
Orange and almond cake
Tried and true
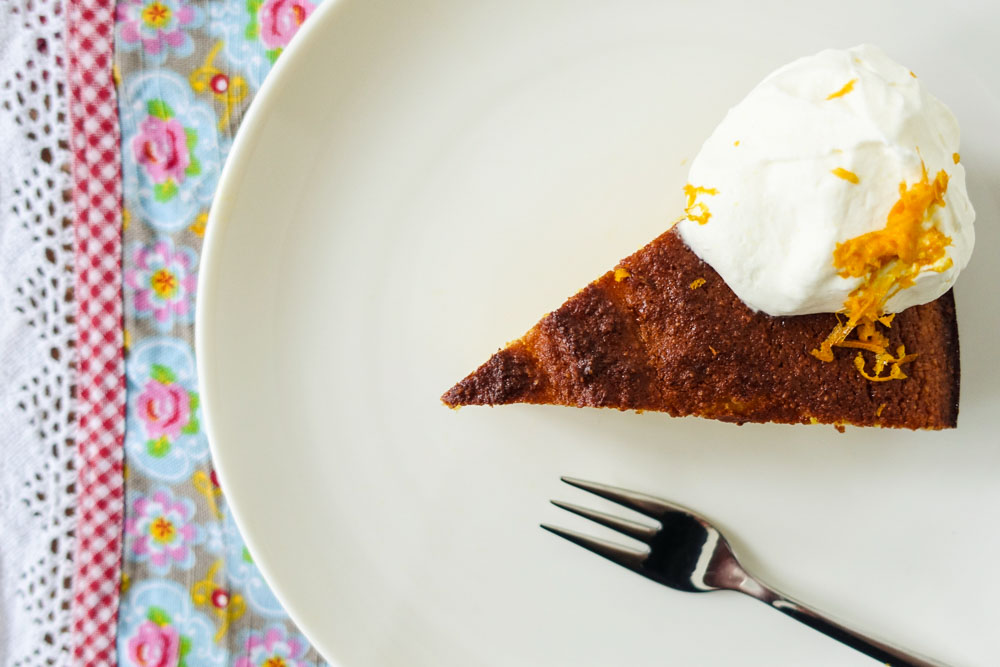
This is honestly one of the easiest cakes I’ve ever made, and is incredibly consistent – definitely recommended for those who aren’t confident bakers. It’s super moist and a little dense; with no flour involved you can make it gluten free by excluding baking powder, for me this makes very little difference to the end result. Which, of course, is best eaten with lashings and lashings of whipped cream.
Method
Step 1
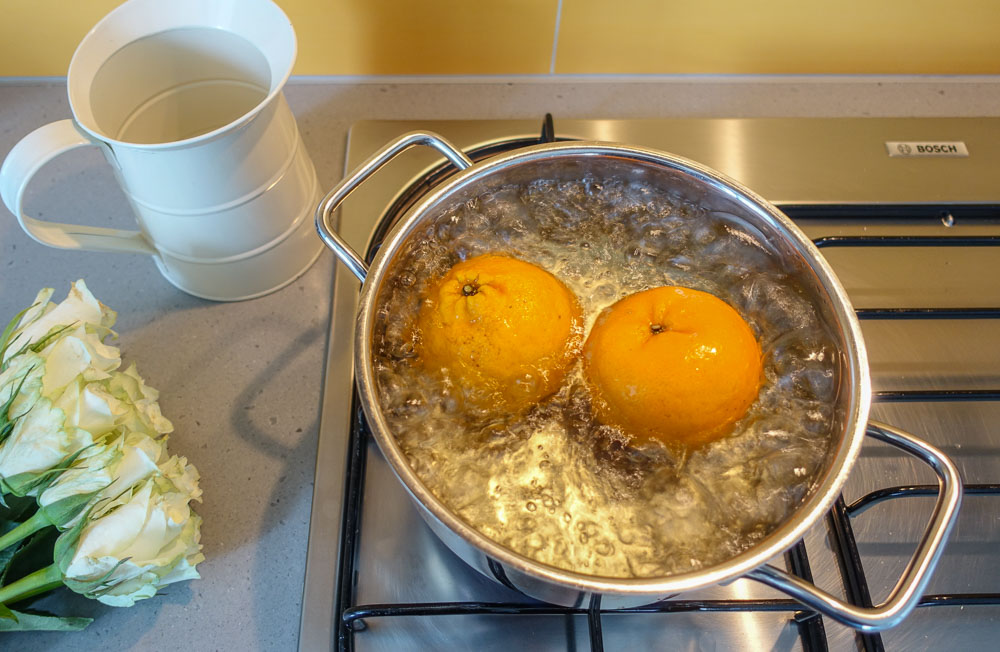
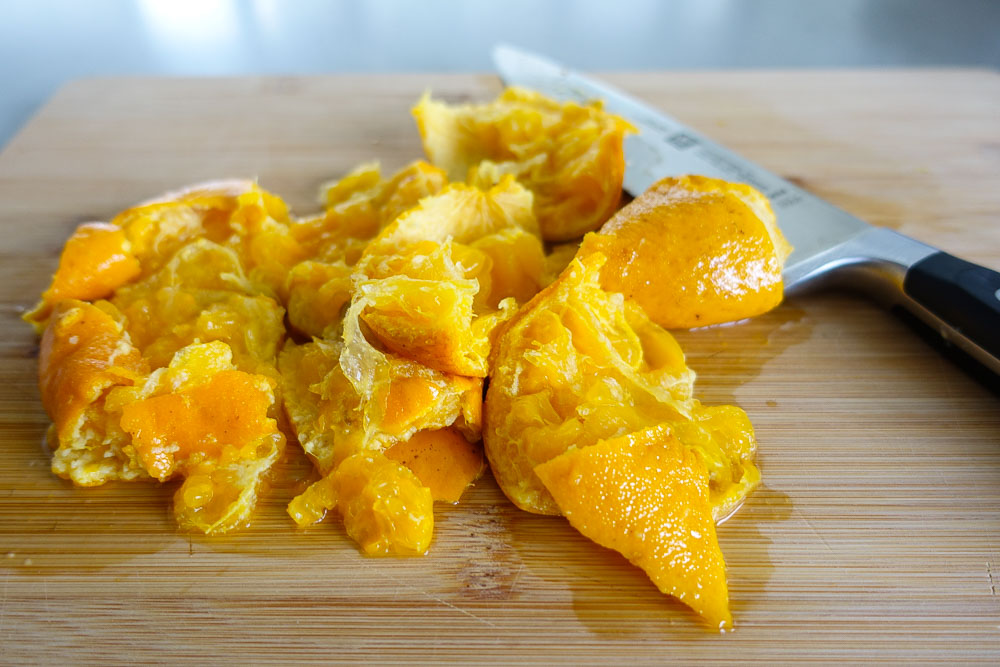
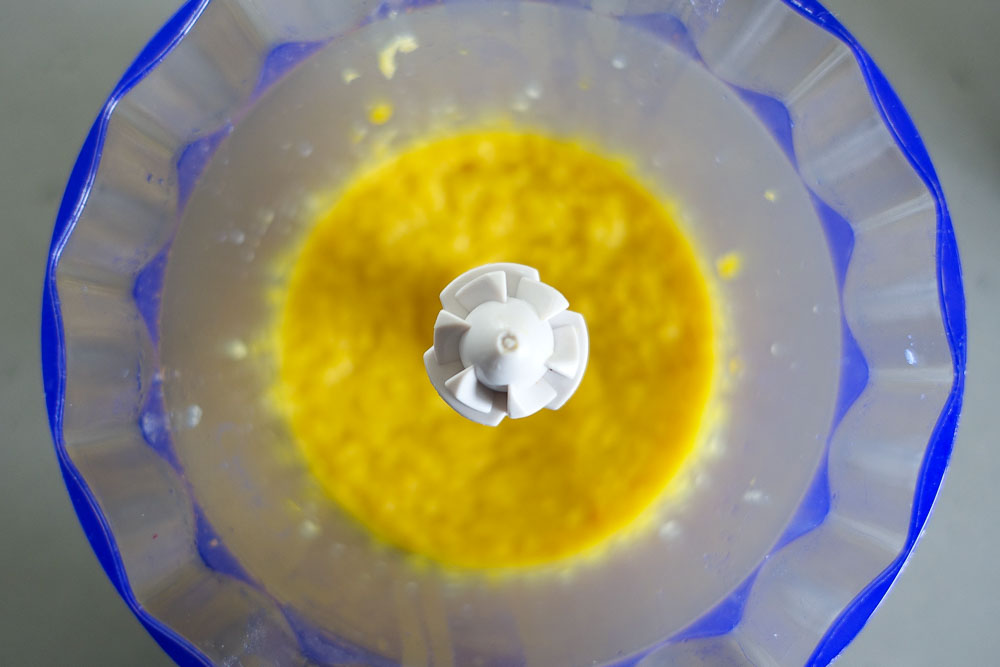
Put the oranges in a pan and fill with cold water to cover. With the lid on, bring to the boil and simmer for 2 hours. If the water levels go down you can top up with fresh water. Drain and cool the oranges, then cut in half and remove the seeds. Pop the halved oranges (skin, pith, and flesh) into a blender and blitz until smooth.

Step 2
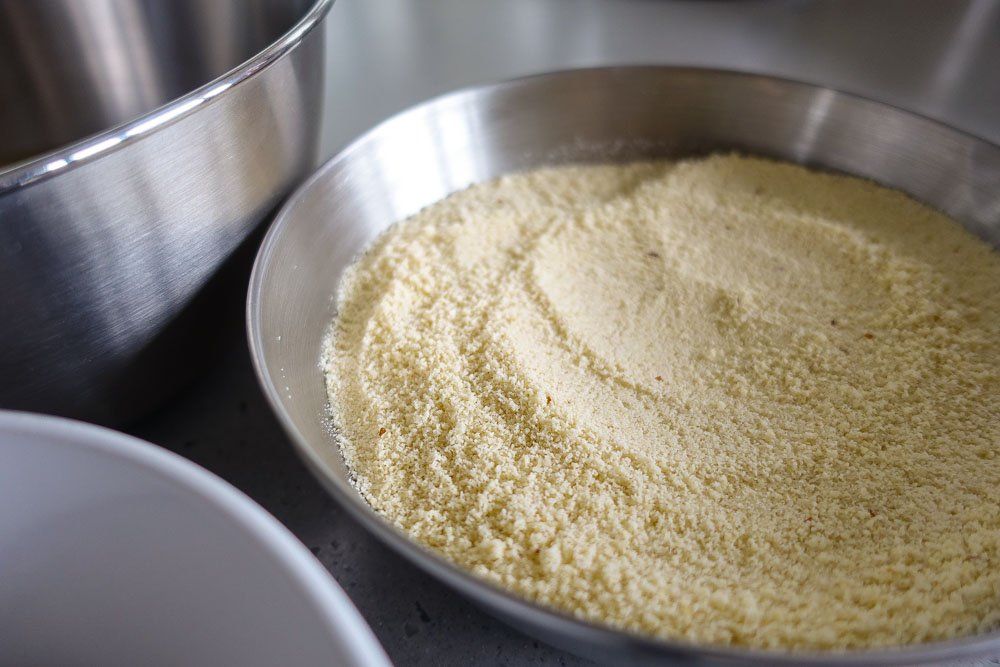
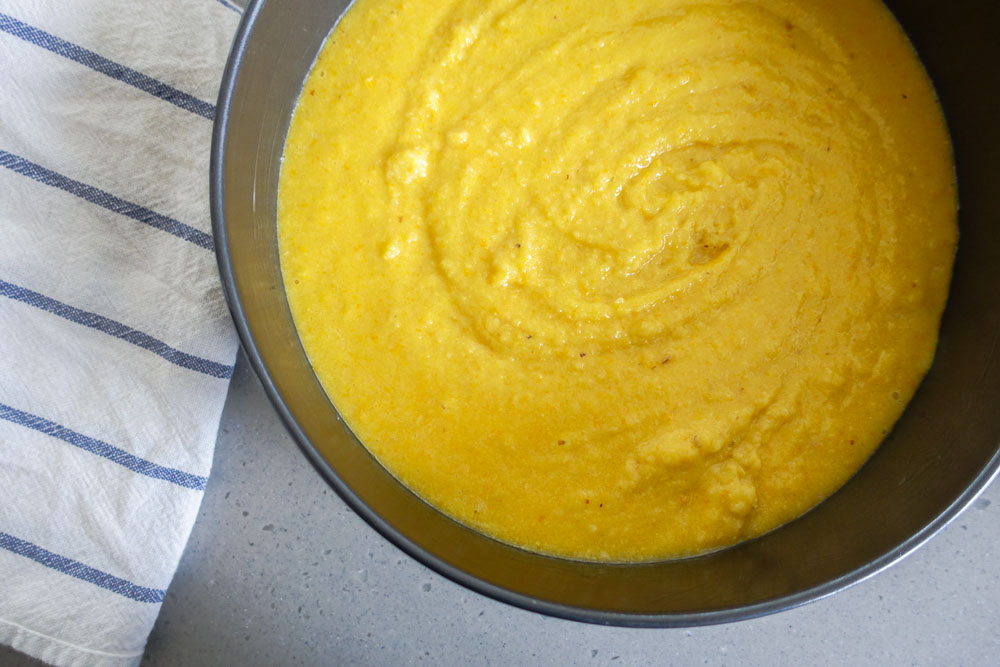
Preheat the oven to 190°C, grease a 21cm cake tin and line the bottom of the tin with greaseproof baking paper (I trace the tin onto the paper and cut to size). Throw all the ingredients – blitzed oranges, eggs, ground almonds, sugar, and baking powder if you’re using it – into a bowl and mix well.

Step 3
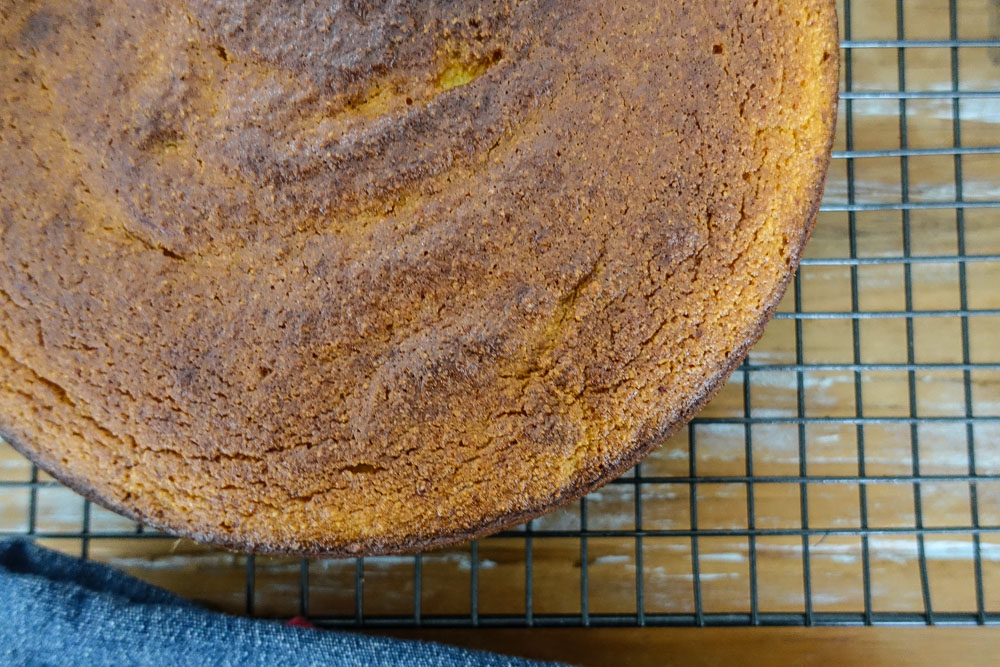
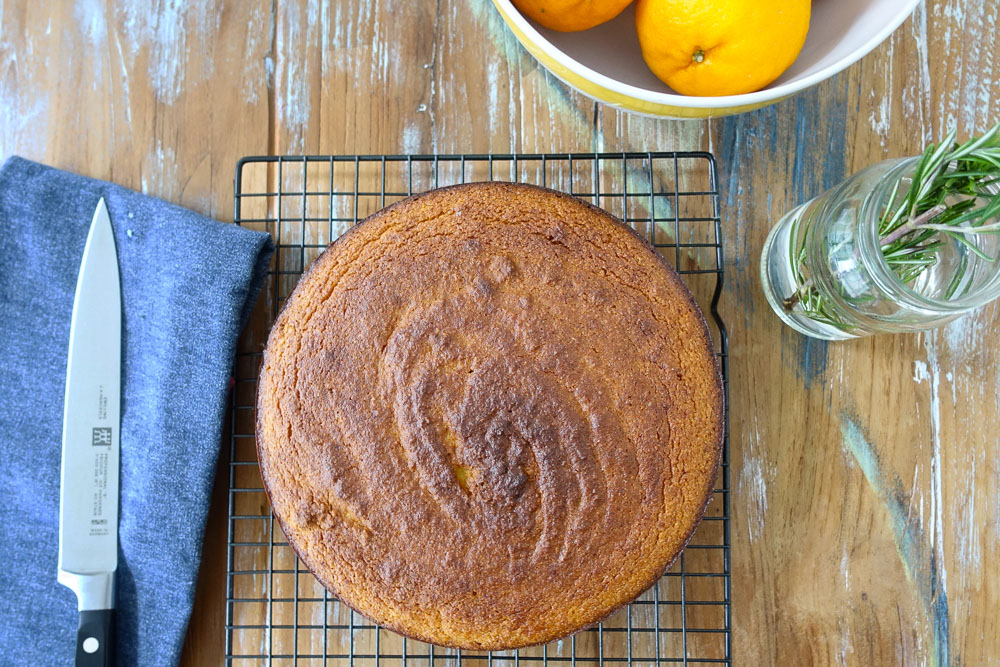
Pour the batter into the cake tin and bake for 1 hour. If the top starts to get too dark before the time is up, cover it with tinfoil for the remainder of the bake. When a knife or skewer comes out clean, the cake is done. Leave it to cool completely in the tin before serving.
Notes
- You can make the cake gluten free by omitting the baking powder, and it’s just as delicious.
- I’ve made this using all different types of oranges and mandarins; as long as you get the weight of the oranges right you can choose sweeter varieties or mandarins for a different orangey flavour.
Recipe adapted from Nigella’s Clementine Cake on www.nigella.com
Double chocolate berry brownie
Tried and true
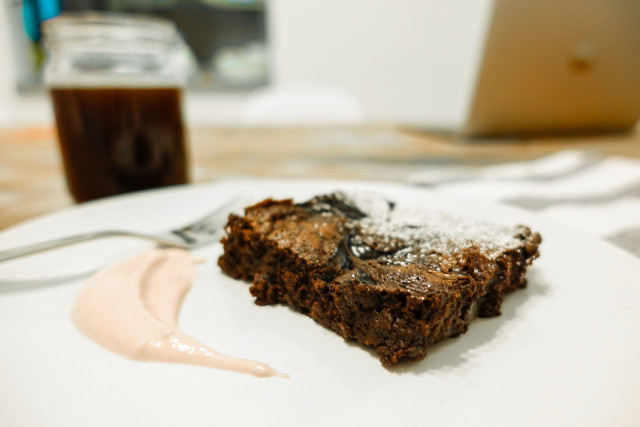
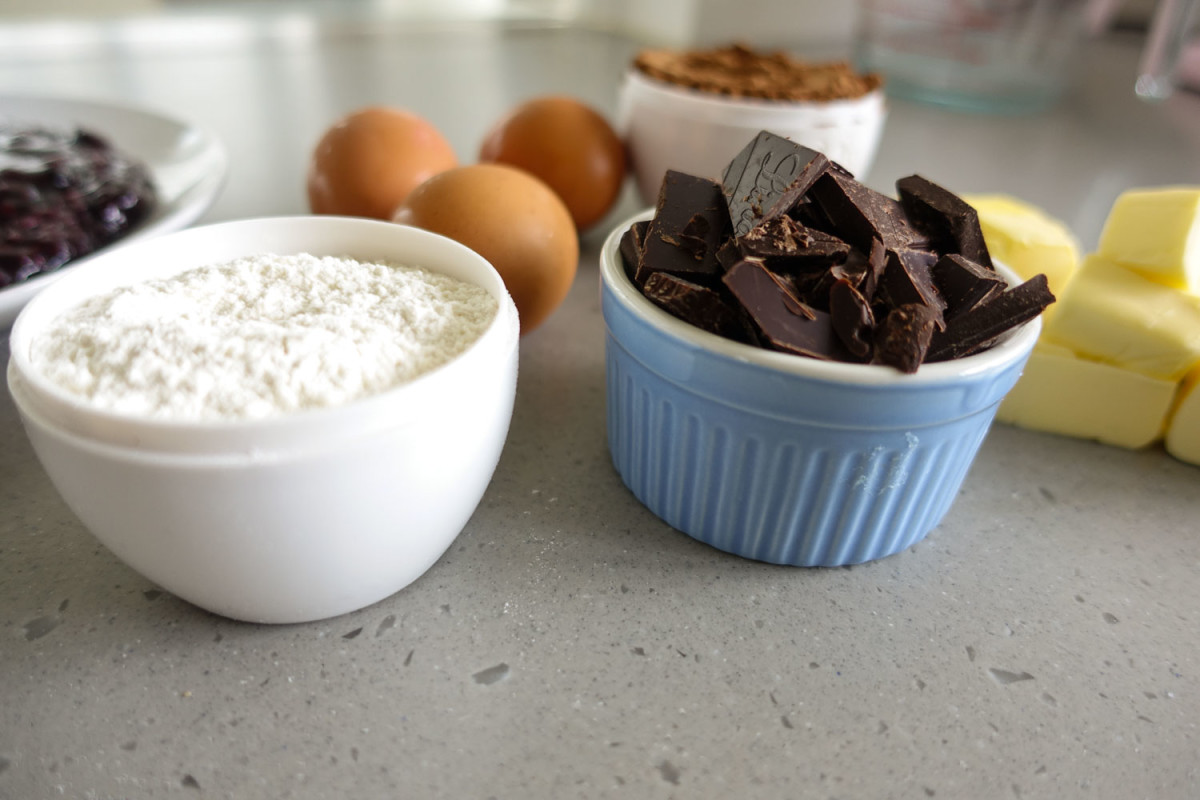
I first tasted this delicious brownie on a family camping trip courtesy of my sister-in-law, Aparna. I remember polishing off the lot when no-one was looking and vowing that they would make regular appearance in my own kitchen. With double chocolate these are very rich and gooey, just the way you want a brownie to be!
Method
Step 1
Preheat the oven to 170°C and line a 22 centimetre square cake tin with baking paper.
Step 2
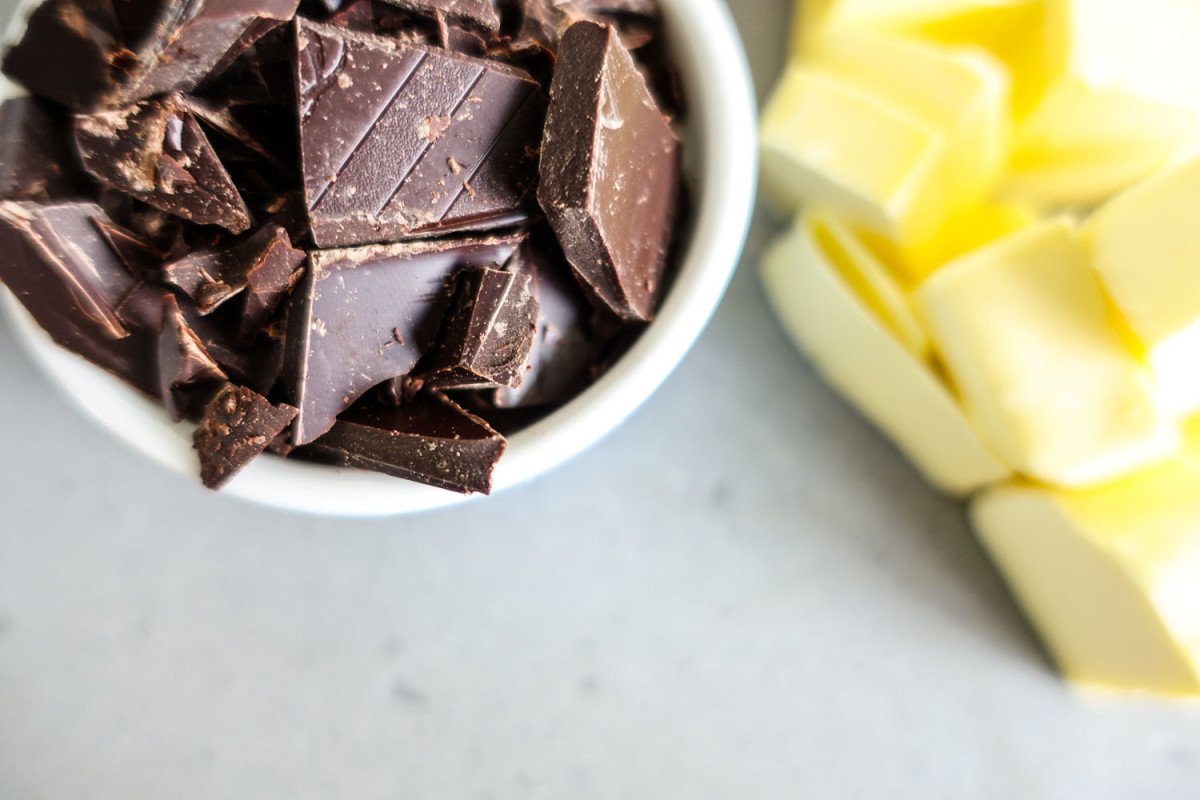
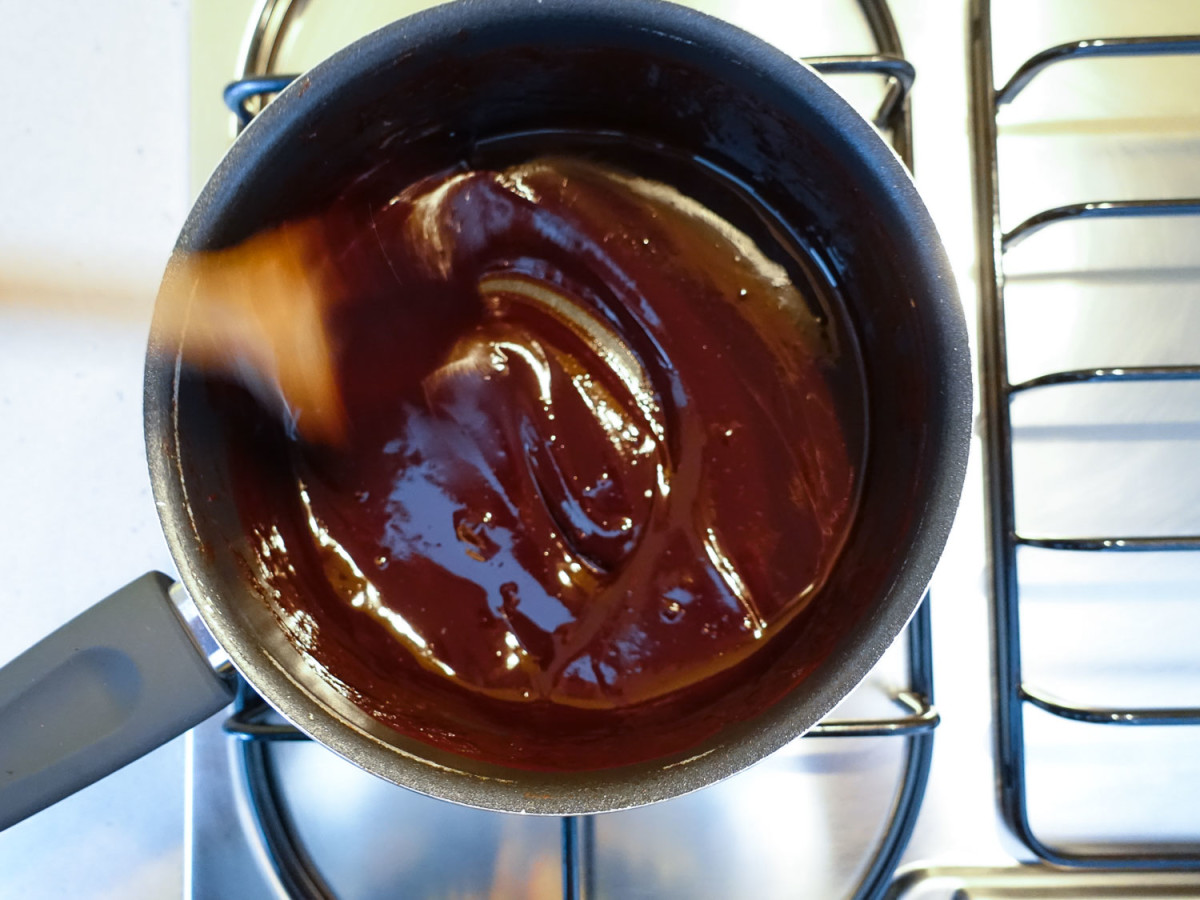
Put the butter and cocoa in a small saucepan. Melt over a low heat, stirring until smooth and glossy, then set aside to cool.
Step 3
In a large mixing bowl, beat the eggs, sugar, and vanilla essence until thick and creamy. Fold in the cooled chocolate mixture, chopped chocolate, and self raising flour.
Step 4
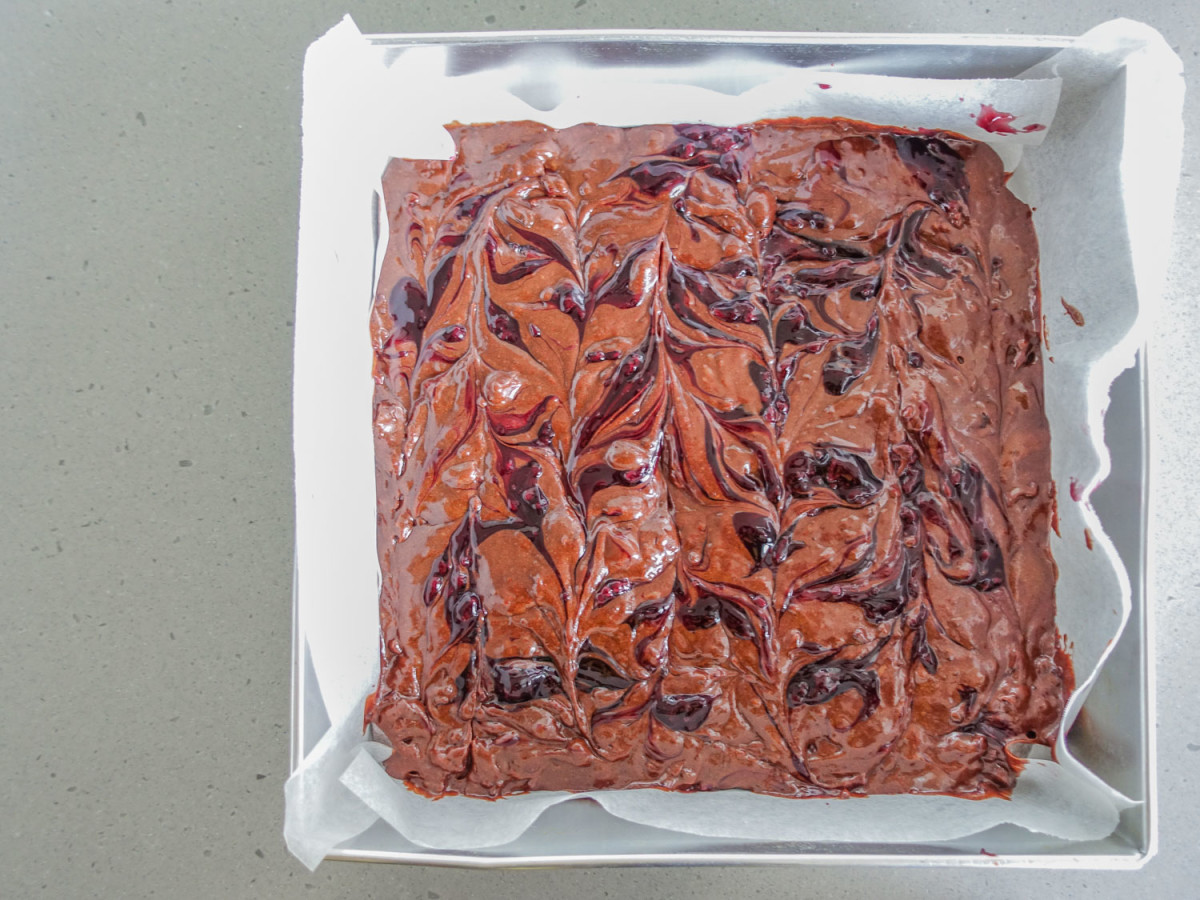
Pour the mixture into the prepared cake tin. Place the drained berries her the top, letting them sink in by themselves.
Step 5
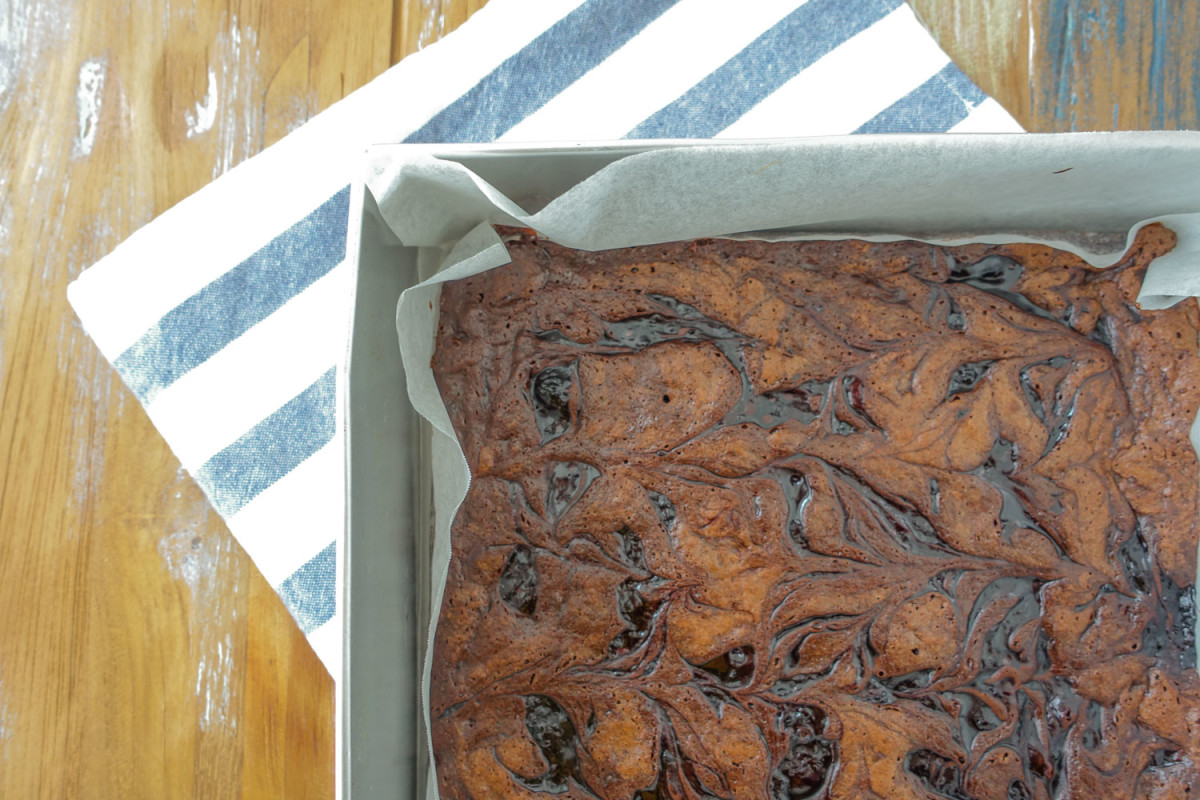
Bake for 30 – 40 minutes or until the surface of the brownie springs back when lightly pressed with your finger. Allow to cool in the tin then remove and cut into slices.
Notes
- The recipe from Aparna calls for boysenberries (my absolute favourite) but these are quite hard to find in Singapore, so I use any berries I can get my hands on.
- Add a few dollops of jam to the top of the brownie mixture once it’s in the pan and swirl around using a skewer or knife to spread it evenly – you can make it kinda pretty this way too!
- For an extra crispy top, brush a small amount of milk over the top of the brownie just before it goes in to bake.
Recipe borrowed from my sister-in-law’s kitchen
Bagels
Tried and true
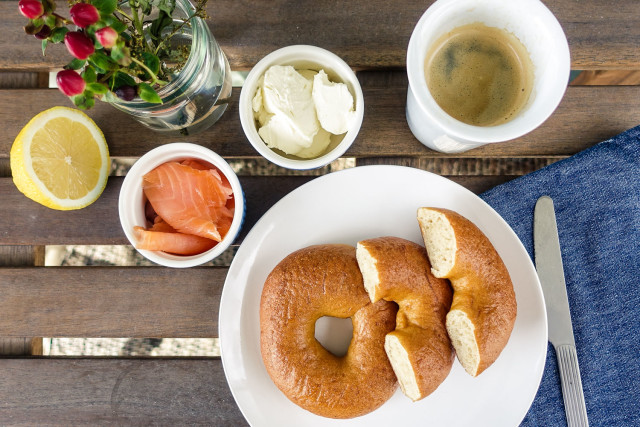
We absolutely love bagels in our house and eat them for breakfast or lunch most weekends. When I first came across this recipe I thought it looked a little complex and the fact you need to make the dough the day before was slightly off-putting, but I can assure you these are definitely worth the effort. They are actually super easy and hands down a million times better than any bagels you’ll find in the shops. Enjoy!
Method
Step 1
To make the dough, take the lukewarm water and add the honey, salt, and yeast, stirring briskly with a fork until dissolved, and add this liquid to the flour. If you’re using a mixer, use the dough hook and mix on the lowest setting for 3 minutes. If you’re mixing by hand, using a wooden spoon to mix the dough for about 3 minutes until the ingredients are well combined. Once the dough has formed a coarse ball and the all the flour has been mopped up, let the dough rest for five minutes.


Step 2
Once the dough has rested, it’s time to knead the dough in preparation for it’s overnight stint in the fridge. If you’re using a mixer, knead the dough on the lowest setting for 3 minutes. If you’re kneading by hand, lightly dust a large work surface with flour and knead for 3 minutes. The dough should be smooth and slightly tacky but not too sticky, and a little stiff yet supple.

Step 3
Place the dough in a lightly oiled bowl and cover with plastic wrap, and leave to rise at room temperature for 1 hour. The dough should increase in size by about half. In preparation for shaping the bagels, get a couple of baking trays ready by lining with baking paper and lightly coating the paper with oil.
Step 4
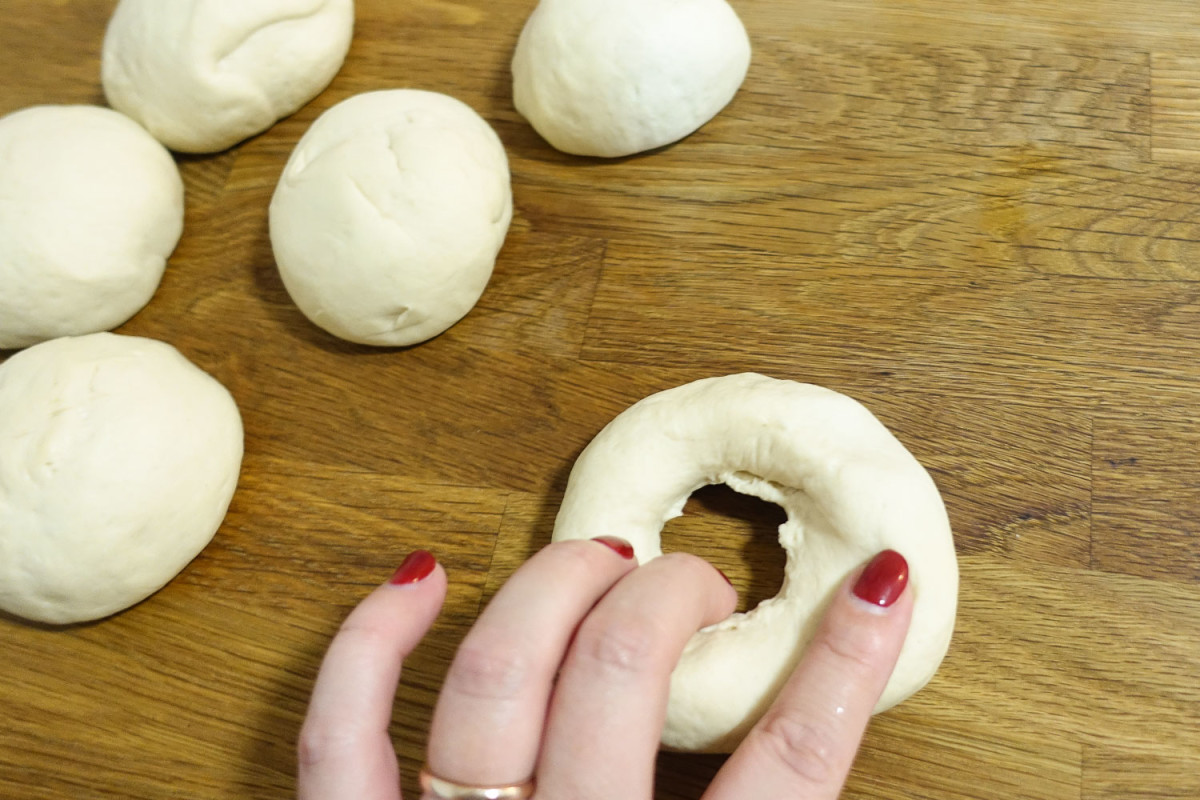
To shape the bagels, take the dough and divide into 8 equal portions. Form each piece into a loose ball by rolling it on a clean, dry work surface with a cupped hand. If the balls don’t form easily, wipe the work surface with a damp cloth and try again (the dampness adds a little traction). Poke your finger into the middle of each ball to form a hole, and gently shape and stretch the dough out until the hole is about 2 inches wide.


Step 5
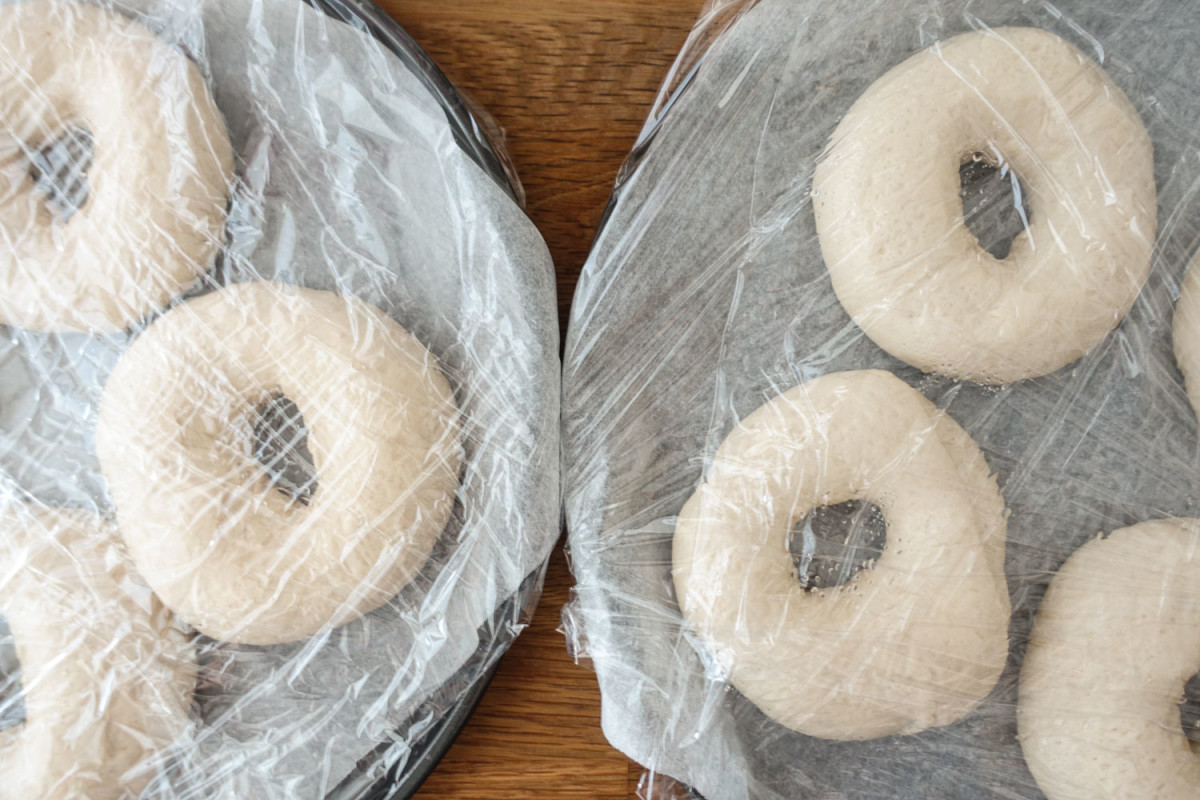
Lay the bagels on the lined and oiled trays, and brush with a light coating of oil. Cover the trays with plastic wrap and leave in the fridge overnight.
Step 6
Before baking, the bagels must be poached briefly to help form a slight crust and develop their delicious chewy centre. Take the bagels out of the fridge about an hour before you plan to bake them, and preheat the oven to 260°C about half an hour before baking. To make the poaching liquid, add the water to a pot and bring to the boil. Reduce the heat to a steady simmer and add the honey, salt, and baking soda and stir until dissolved. Gently drop in a bagel – it should float to the top – and leave it to poach for 1 minute. Flip the bagel and poach for a further minute, them remove it from the water back onto the parchment (I like to re-oil it for an extra crispy bottom) dome side up. Repeat for the rest of the bagels. If you’d like to add seeds, sprinkle these on as soon as the bagel goes back onto the tray from poaching.


Step 7
Put the bagels in the oven and reduce the heat to 230°C. Cook for 8 minutes and check that the bottoms are not over-browning. If they’re getting too dark, place another pan under the baking sheet (doubling the pan will insulate the first baking sheet). Bake for another 8 to 12 minutes, until the bagels are a golden brown.
Cool the bagels on a wire rack for at least 30 minutes before slicing.

Notes
- These bagels freeze really well and are delicious heated up in the oven at 180°C fan (200°C non-fan) for about 10 minutes.
- You can add toppings to your bagels if you fancy it – sesame seeds, poppy seeds, and coarse seat salt work well (just don’t go overboard with the salt!).
- It’s best to use thick, malty honey to give an extra punch of flavour – I use pohutukawa tree honey from New Zealand.
Recipe adapted from Peter Reinhart’s bagel recipe on www.epicurious.com
Pavlova
Tried and true
Pavlova has been my mum’s speciality ever since I can remember, adding a sweet and marshmallowy touch to Christmases and birthdays. And because I’ve been so spoilt enjoying mum’s pavlova it was only a few short years ago I decided to give it a go myself.
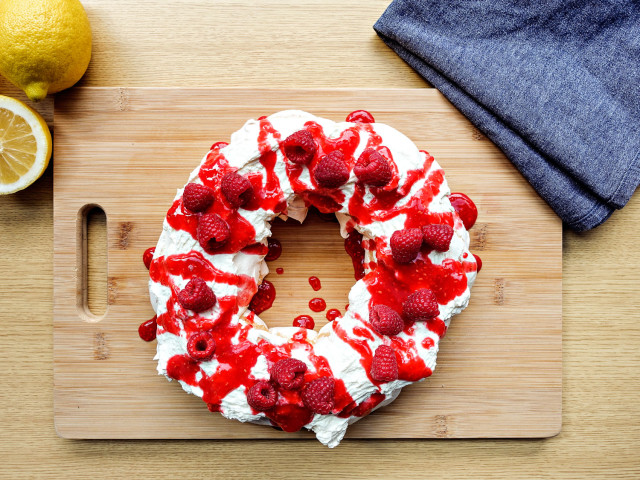
This recipe is intended to look like Christmas wreath because of the shape, but I’ve made it so much that it’s an all-year-rounder now – the pavlova in the photos below was a Valentines Day treat for my lovely husband. I use an electric stand mixer to beat the egg whites which makes the preparation time super quick, and the hardest part of this delightful dessert is waiting out the hours for it to bake and cool.
Method
Step 1
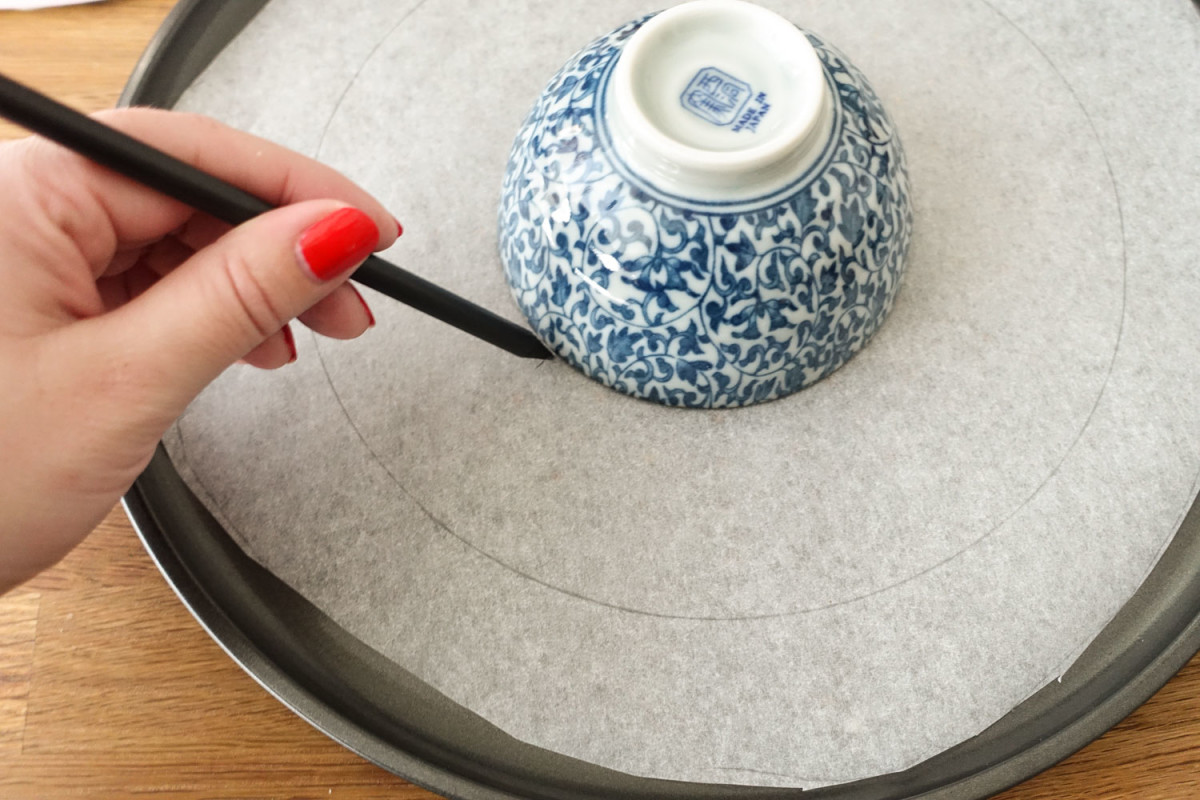
Preheat the oven to 120°C and line a large tray with baking paper. Use a bowl or round baking tin to draw one large circle (approx 22 cm) then draw another circle inside (approx 13 cm).

Step 2
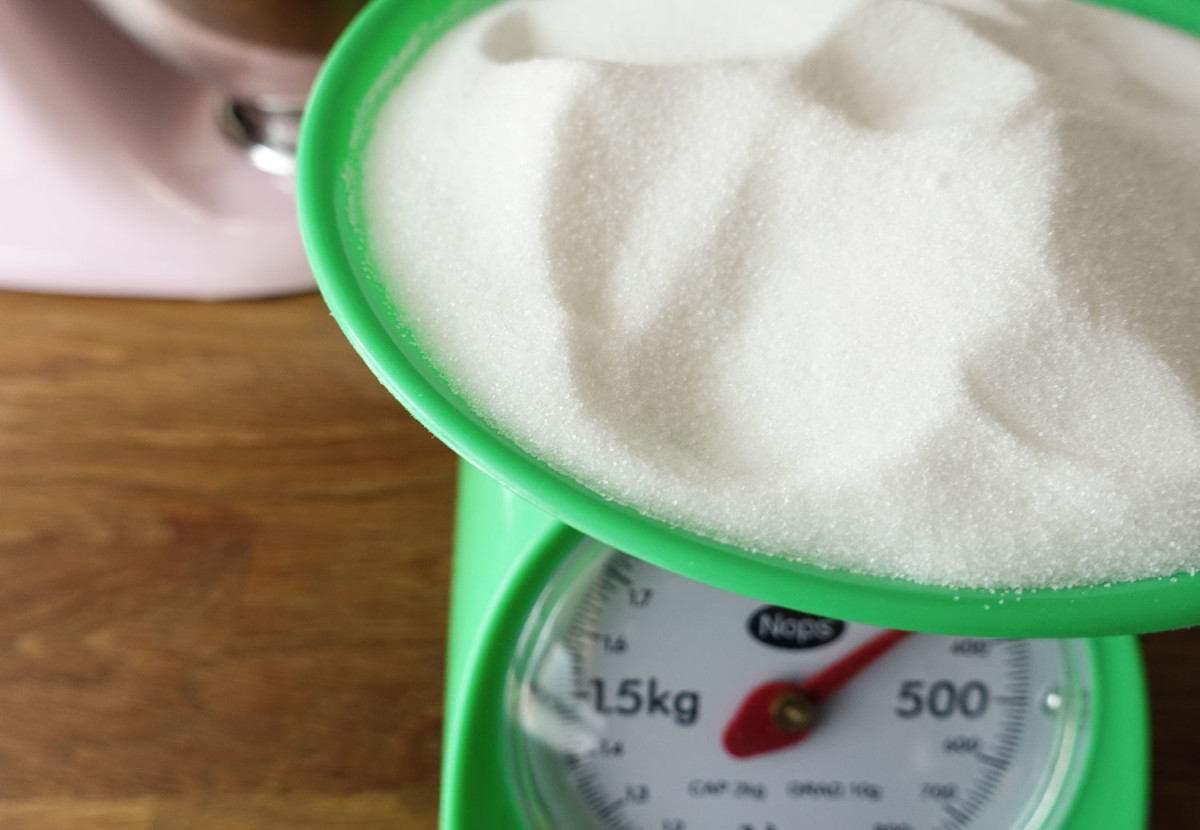
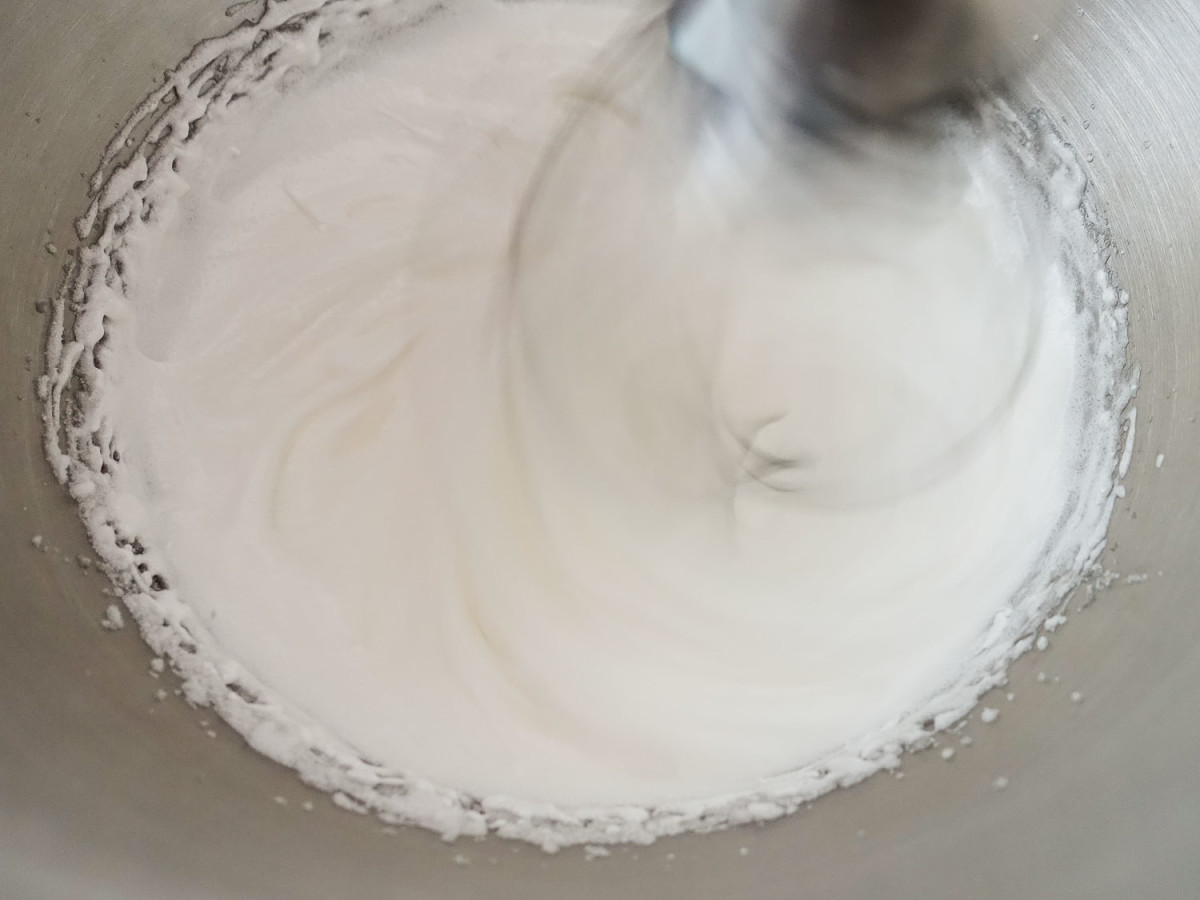
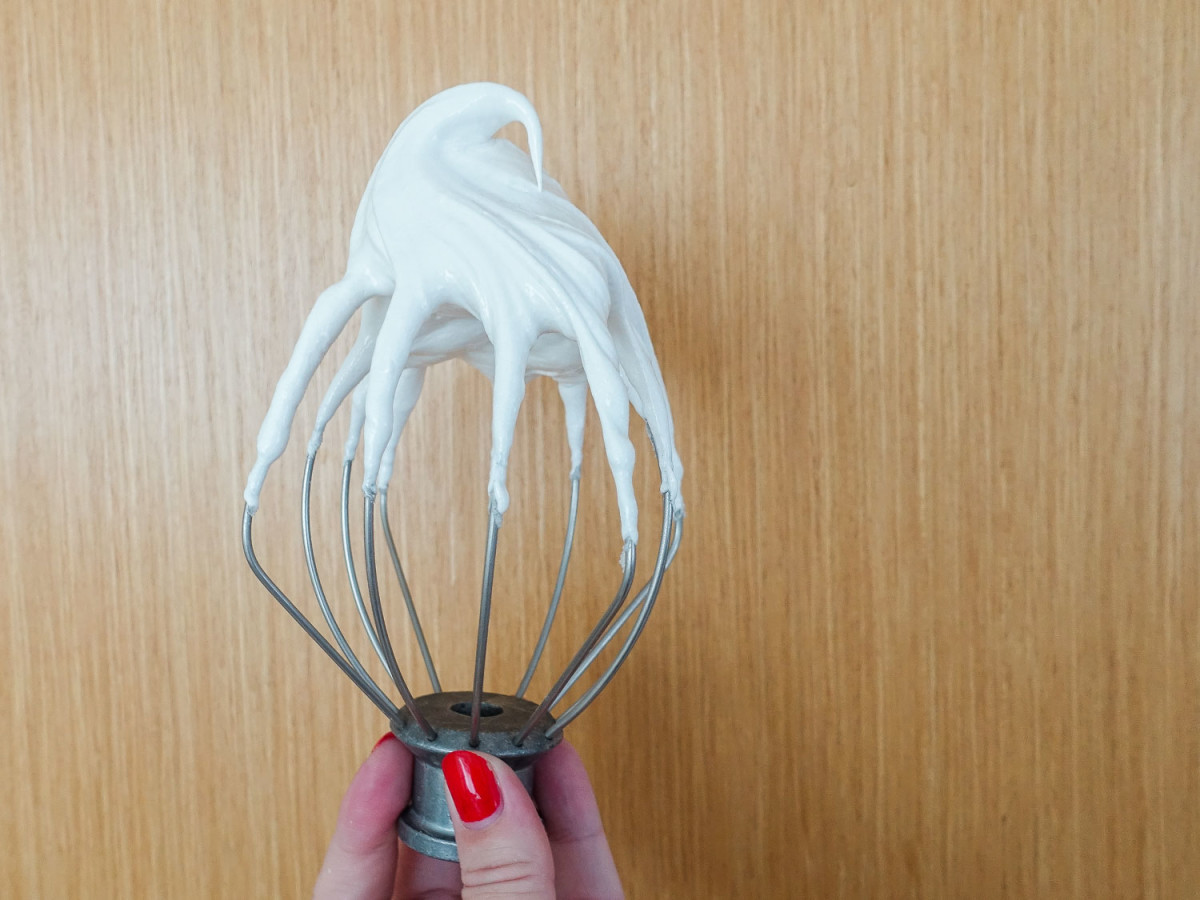
Beat the egg whites and salt until soft peaks form. Beat in the sugar, a little at time, until the meringue is stiff and shiny. Sprinkle over sifted cornflour and vinegar, and fold in lightly (if using an electric hand or stand mixer, just a couple of turns is plenty). The meringue will be ready when you can up-end the bowl and it doesn’t move – it has to be pretty stiff.
Step 3
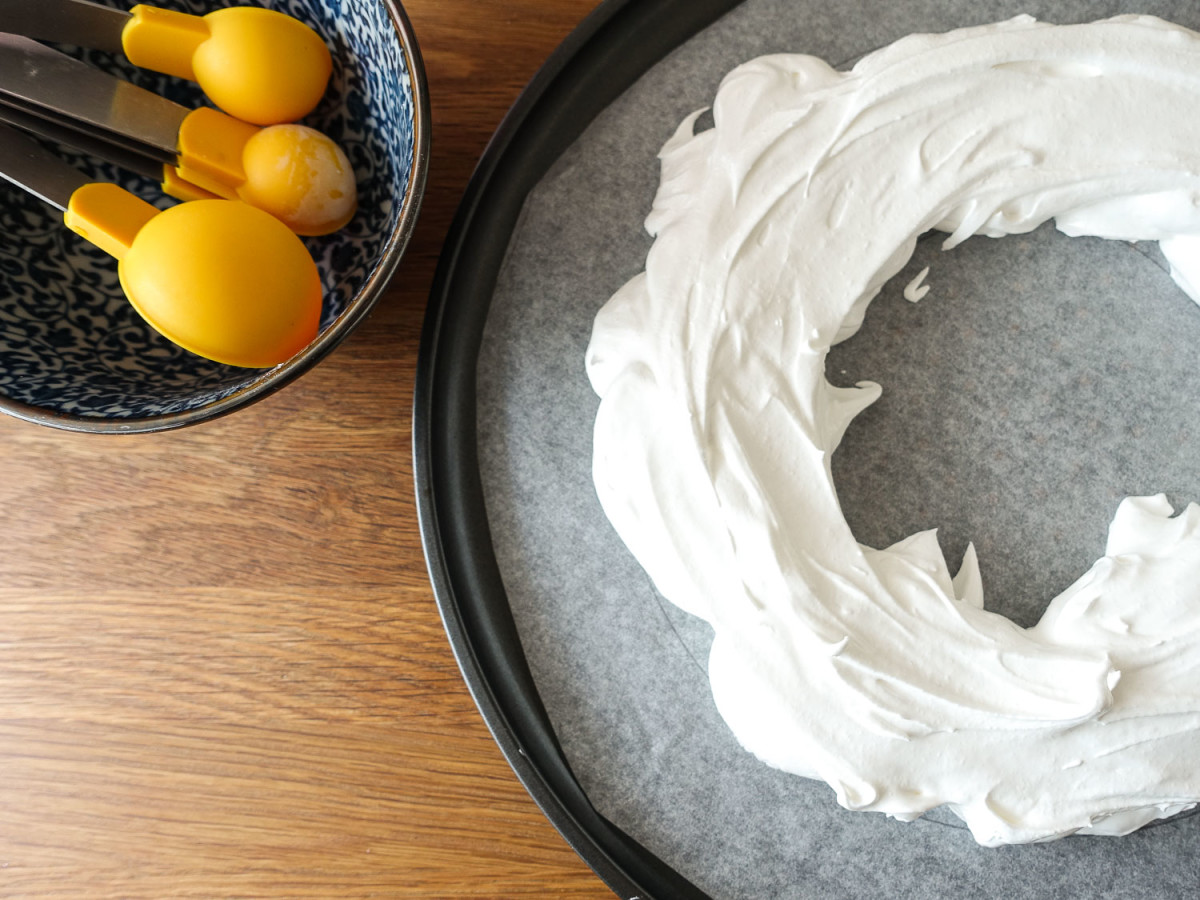
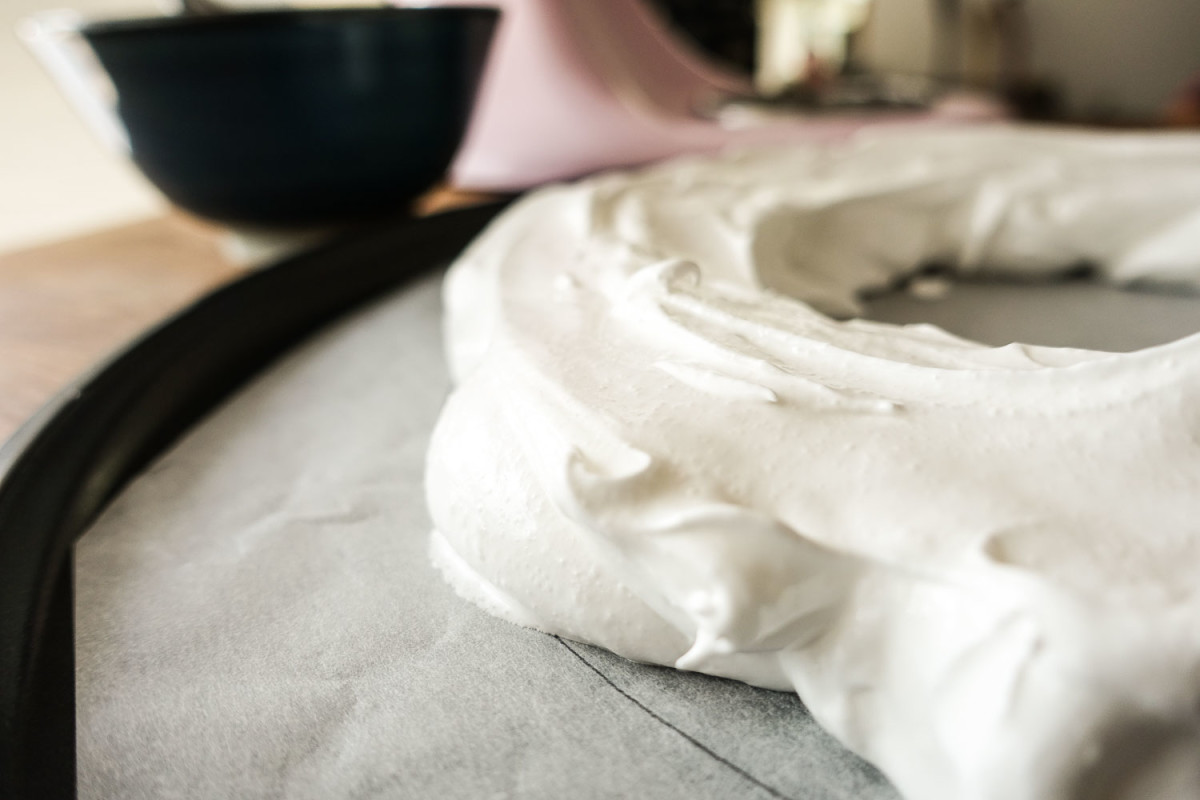
Grab a dessert spoon and scoop a dollop of meringue. Place this dollop between the outside and inside line and repeat until a ring of meringue is complete. Create a second layer of meringue on top of the first until second ring is complete and flatten the top of the meringue with the back of the spoon so you have an nice even surface.
Step 4
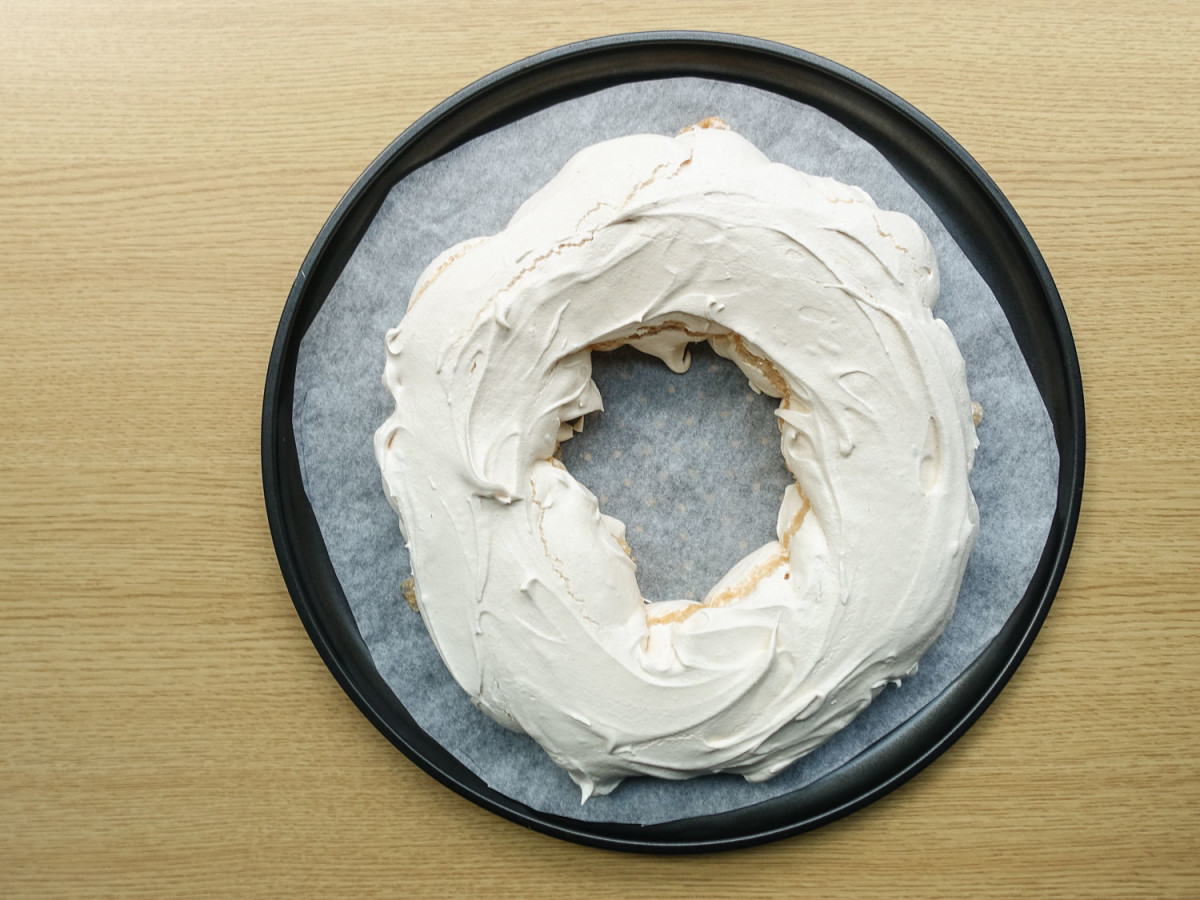
Place the pavlova in the in oven for 2 hours at 120°C. When the time is up, turn off the oven and leave the pavlova in the oven until it’s completely cool – I leave it for an hour, just to be safe. This is a really important step as it reduces the risk of the meringue cracking and collapsing.
Step 5
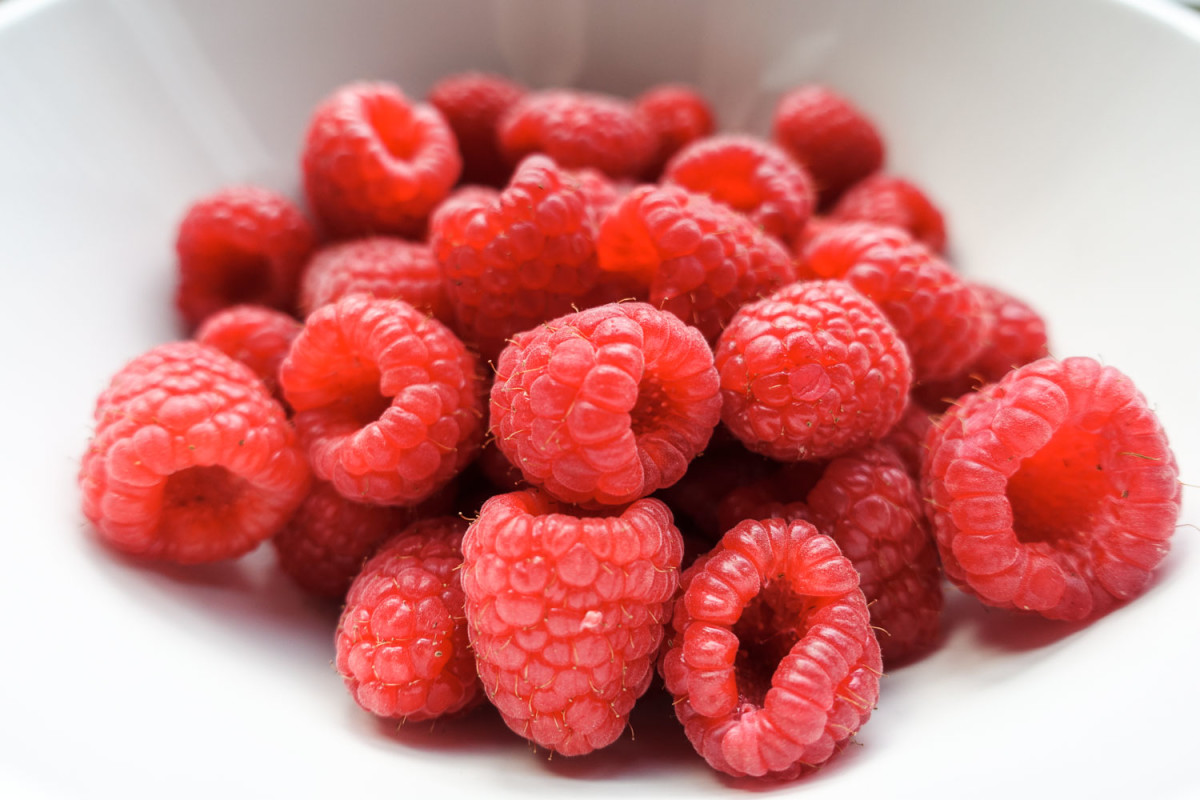
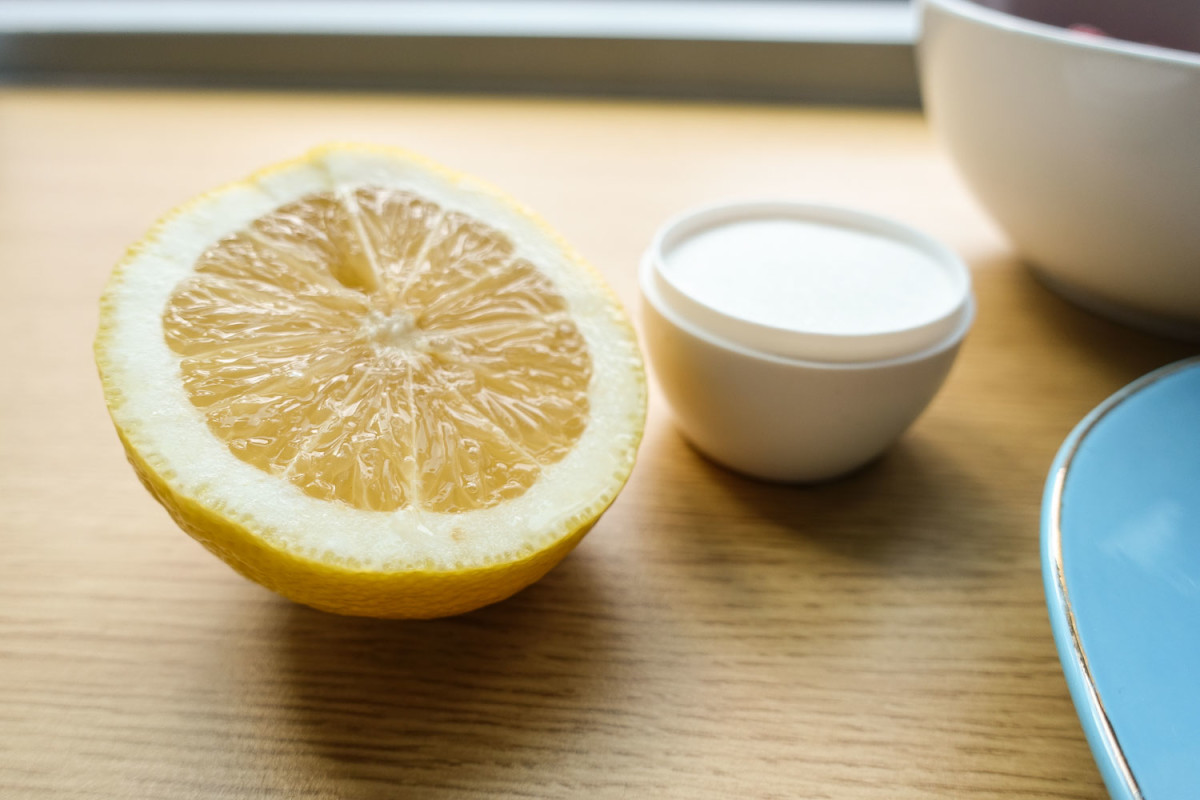
While the meringue cools you can make the raspberry coulis. Blend the fresh raspberries, lemon juice, and sugar together until sugar has completely dissolved, then set aside to use later.
Step 6
Decorate the pavlova by dolloping cream, drizzling coulis, and scattering fruit over the top, and serve immediately.

Notes
- Make sure the egg whites are at room temperature, not straight from the fridge otherwise it’s hard to beat them to the right consistency.
- Add ingredients to meringue in small amounts and consistently, to help them to dissolve into the egg whites.
- Do not, I repeat, DO NOT open the oven while the pavlova is baking! It may collapse – in which case you can always cover up the sunken-in areas with cream – but better to be safe than sorry.
- Keep the oven door closed with the pavlova inside until it’s completely cool (especially if you live in a hot and humid climate like me).
- If you’re making the pavlova ahead, store it in an airtight container and add the toppings just prior to serving it.
Recipe adapted from the Berry Christmas Pavlova as seen on mysquarefryingpan.com
Profiteroles
Tried and true
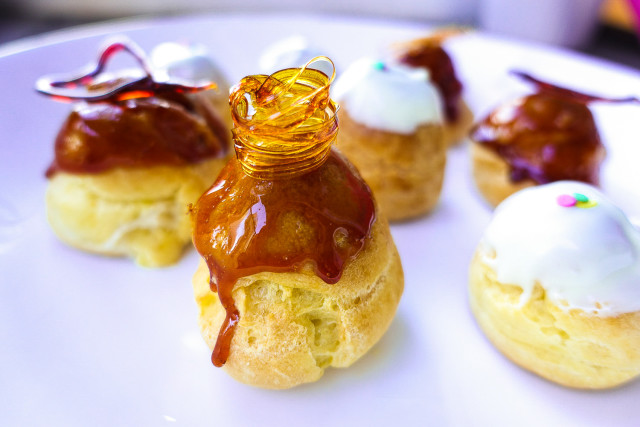
These profiteroles are one of my favourite sweet treats. The creamy, cool custard filling and crispy choux pastry is divine, particularly when topped with a slick of chocolate or caramel. I’ll admit it took me a couple of attempts to get the choux buns right and I’m very pleased I stuck with it as the results are amazing. These profiteroles take a little more skill than the usual fare I make, and I’ve included all the tricks I’ve learned from the many times I’ve enjoyed making them.
Method
Step 1
Make the crème patissiere first, in order to give it time to chill in the fridge. Warm the milk and vanilla paste in a saucepan over a low-medium heat. Whisk the egg yolks and sugar in a bowl until thick, then whisk in 1/3 cup flour. Pour the egg, sugar, and flour mixture into the saucepan with the milk, making sure to scrape the sides of the bowl to get as much mixture into the milk. Whisk together well to combine.


Step 2
Turn the heat up to medium and whisk the mixture continuously until it becomes thick. This will take around 5 minutes but could be slightly longer or shorter; if it takes a longer time, turn up the heat a little – you don’t want the custard to boil, but get almost hot enough to do so. As soon as it thickens, remove from the heat and pour into a heat-proof bowl and cover the surface with plastic wrap (this prevents a skin from forming). Put the custard in the fridge to chill.
Step 3
Next up, the profiteroles. Preheat oven to 200°C and line 2 baking trays with non-stick baking paper. Place the water and butter in a saucepan and bring just to the boil. Remove from heat and use a wooden spoon to beat in the second lot of flour (1 cup) until combined. The dough should form a ball, coming away from the sides of the pan. Set the dough aside for 5 minutes to cool.
Step 4
Gradually add the whisked egg, 1 tablespoon at a time, beating well with a wooden spoon after each addition, until the dough is thick and glossy.
Step 5
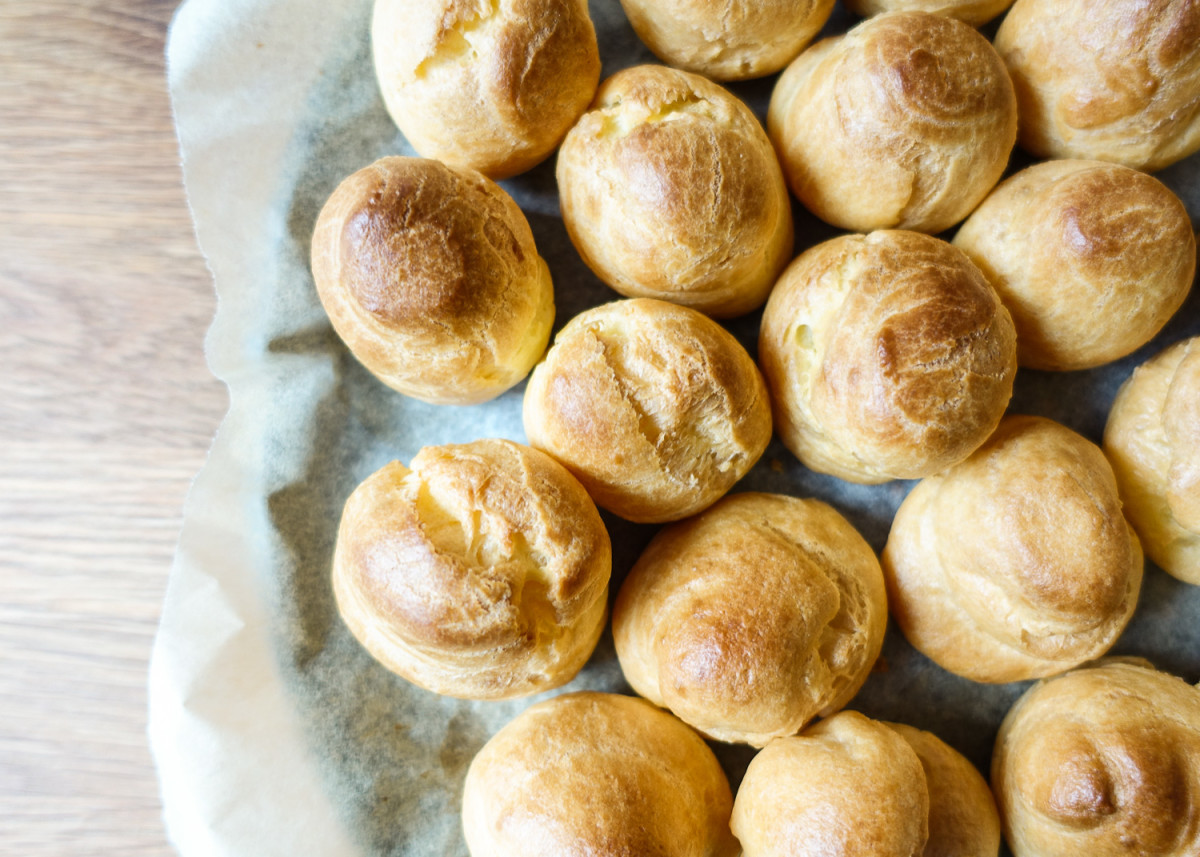
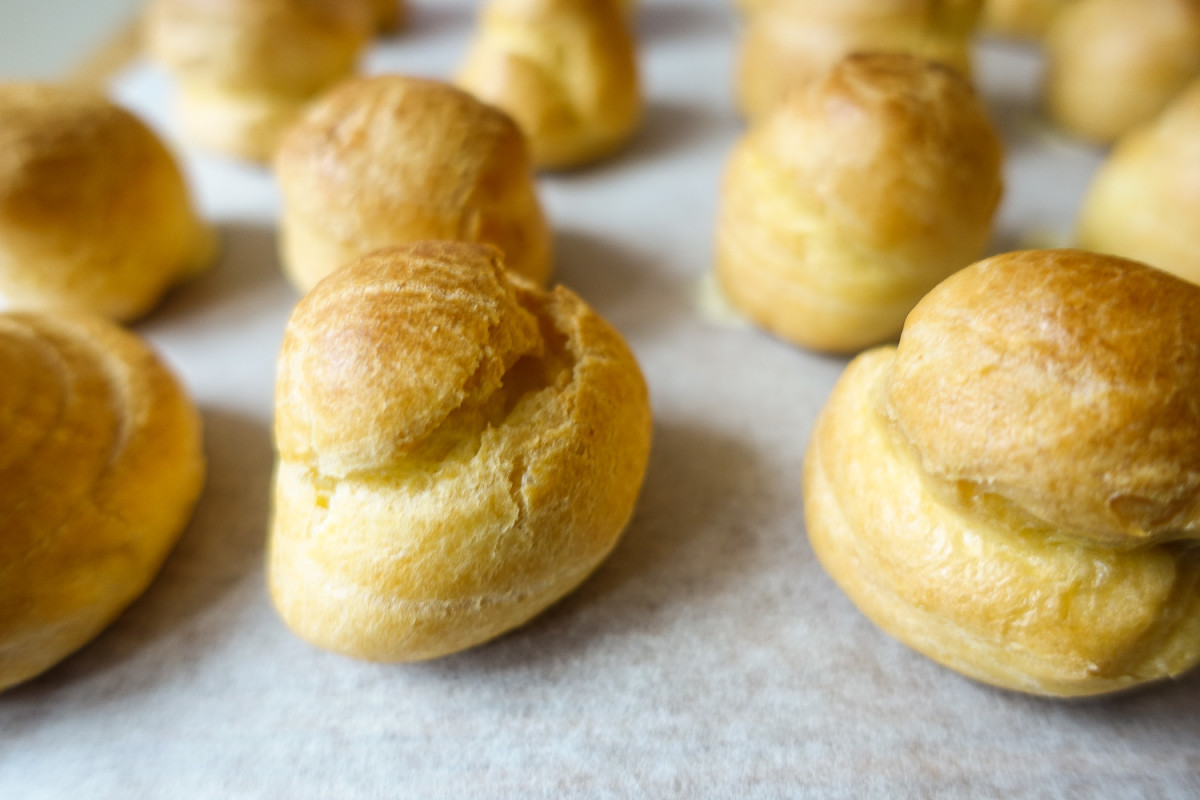
Place the dough in heaped dessertspoonfuls, or put into a piping bag and pipe, about 3 cm apart on the lined trays. Use wet hands to pat down any peaks of dough and sprinkle trays with water to create steam. Bake for 30-35 minutes or until puffed and golden.

Step 6
Turn off the oven and with a knife or skewer, pierce the base of each profiterole. Place profiteroles in the switched-off oven for 20 minutes to dry out then transfer to a wire rack to cool.
Step 7
Once the profiteroles are cool, spoon the crème patissiere into a piping bag and push the tip into the hole in the bottom of the profiteroles to fill.
Notes
- If you don’t own a piping bag (like me!), use a sturdy snaplock bag and snip off the corner. You’ll need to make sure the hole in the bottom of each profiterole is big enough to easily fit the snipped corner of the bag for easy piping.
- Top with melted white or dark chocolate, or with hot caramel – just be really, really careful as caramel is extremely hot and burns badly. From, ahem, experience.
- You can store the unfilled profiteroles in an airtight container, and the filled ones in the fridge for a couple of days.
Recipe adapted from the Australian Good Taste Profiteroles as seen on Taste.com.au
3 ingredient crepes
Tried and true
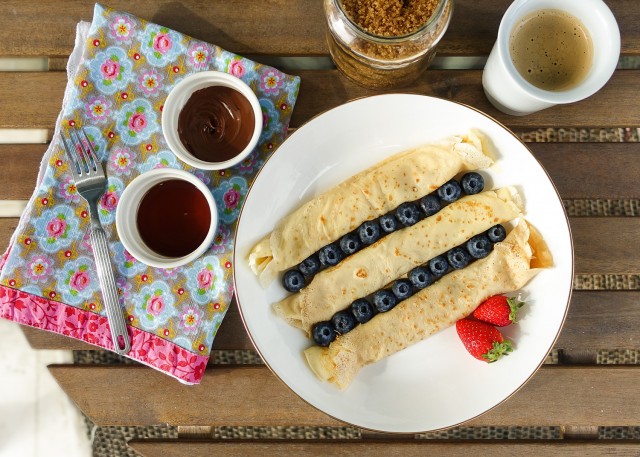
This really easy recipe produces the most beautifully thin and crispy crepes. We make them most Sunday mornings as they take no time at all and we can top them with whatever we have left in the fridge from the week. The more you make them, the thinner the crepe you will achieve – and the thinner the better, according to my husband who is (probably) the world’s number one pancake fan.
Method
Step 1
Sift the flour into a large mixing bowl. Crack the eggs into a jug and add the milk, whisking together until smooth and a rich pale yellow colour. Pour the egg and milk mixture into the flour, whisking together with vigour until you have a smooth, creamy looking batter. The consistency will be similar to a thin cream.


Step 2
Add a couple of drops (a very small amount!) of olive oil to a non-stick frying pan, and spread it around using a paper towel so you have a very thin layer. Heat the pan on medium, wait for 5 minutes, then pour in about 2 ½ tablespoons of batter, tilting the pan to spread the mixture in an even layer.

Step 3
Cook each crepe for a few minutes on each side, until golden, and crispy around the edge.

Notes
- These crepes are best made in an 18cm non-stick frying pan, with a very small amount of butter or olive oil.
- I use a soup ladle to pour the crepe mixture into the pan so I have a consistent amount for each; if you don’t have a soup ladle then use any receptacle that will help you to evenly measure out each crepe.
- These can be eaten sweet or savoury – our favourite savoury toppings are crispy bacon, cheese, and spring onion; our favourite sweet toppings are white sugar, Nutella and fruit, or maple syrup.
- The first crepe you make will usually be a throw-away (or the cook’s spoils) as for me, at least, I usually have trouble getting the right consistency and crispy edge in the pan. The less oil/fat you use, the less likely this is to happen but if it does, don’t despair and keep working through the batter.
- You can keep the crepes warm in a low oven (no warmer than 90°C), though I think they’re pretty delicious eaten cold too!
Recipe adapted from the Super Food Ideas Basic Crepes as seen on www.taste.com.au
Bacon and egg pie
Tried and true
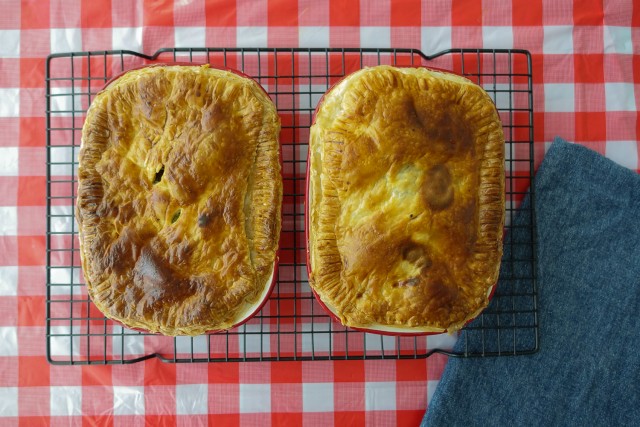
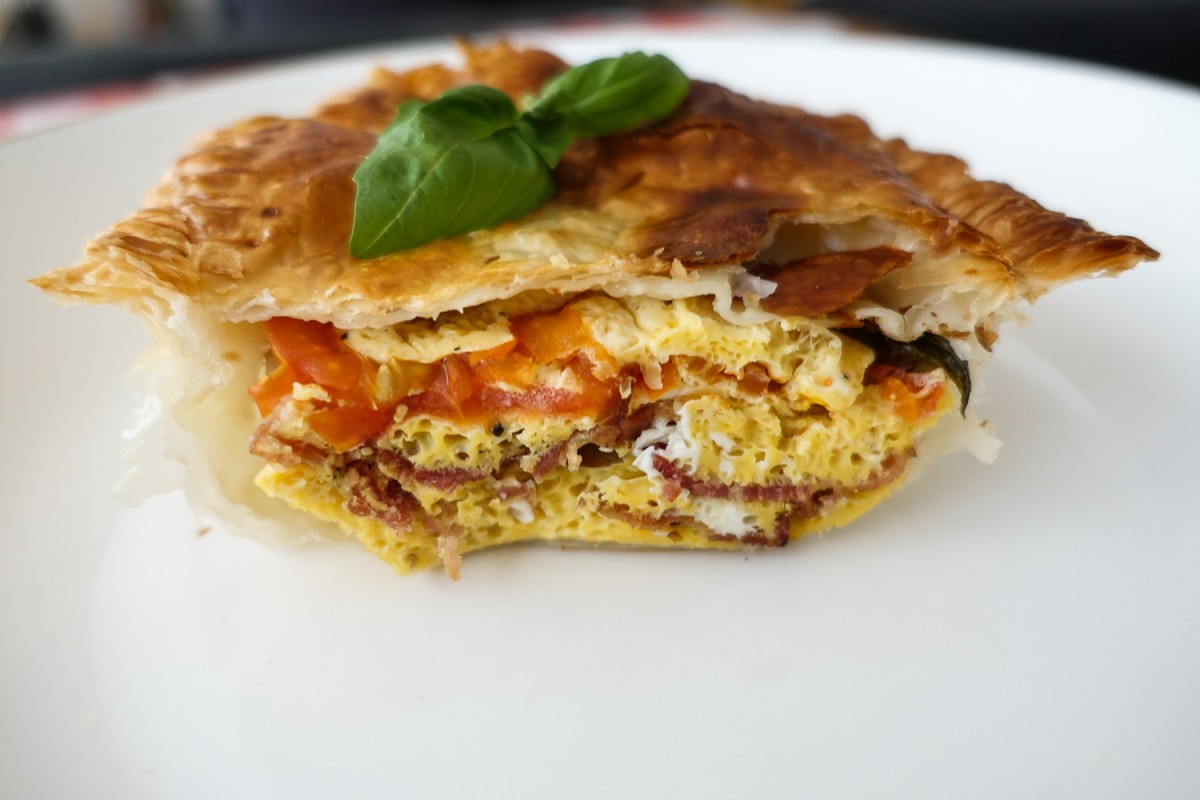
My mum has been making this classic Kiwi treat ever since I can remember. We have a large family so we had great big slabs of pie, eaten cold on summer picnics or warm for Sunday lunch. The ones I make these days are baked as individual pies which means you always have your own corner piece – 4 of them, in fact! Mum used to make her own pastry for this, a wholemeal shortcrust pastry. I’ve chosen to use shop bought puff pastry for this because wholemeal flour is quite hard to find in Singapore (where I live) and shop bought puff pastry is delicious for this recipe.
Method
Step 1
Preheat oven to 200°C. Take the puff pastry and line 2 small individual-serving pie tins with the puff pastry, setting aside enough for the lids. If there isn’t quite enough pastry to use as a lid, trim off the pastry from around the edges, combine it together with the remaining pastry, and squeeze together to combine it into a flat disc. Take a rolling pin (or a wine bottle) and roll out the disc until you have enough pastry to make a lid for both tins – it’s absolutely fine if it’s thinner than the layer covering the bottom of the pie. Put the pastry-lined tins in the fridge and set the lids aside to use later.

Step 2
Fry the rashers of bacon until crispy. Slice the tomatoes thinly, and pick the basil leaves off the stalks. Crack all of the eggs into a bowl and lightly beat, seasoning with the salt and pepper.
Step 3
Take the pastry-lined tins and layer with bacon, then egg (leaving a little bit for brushing the top of the pastry), then the slices of tomato, then the basil leaves. Lay over the pastry lids and pinch the sides with your fingers, or crimp with a fork, making sure there are no gaps in the pastry around the edge of the lid.
Step 4
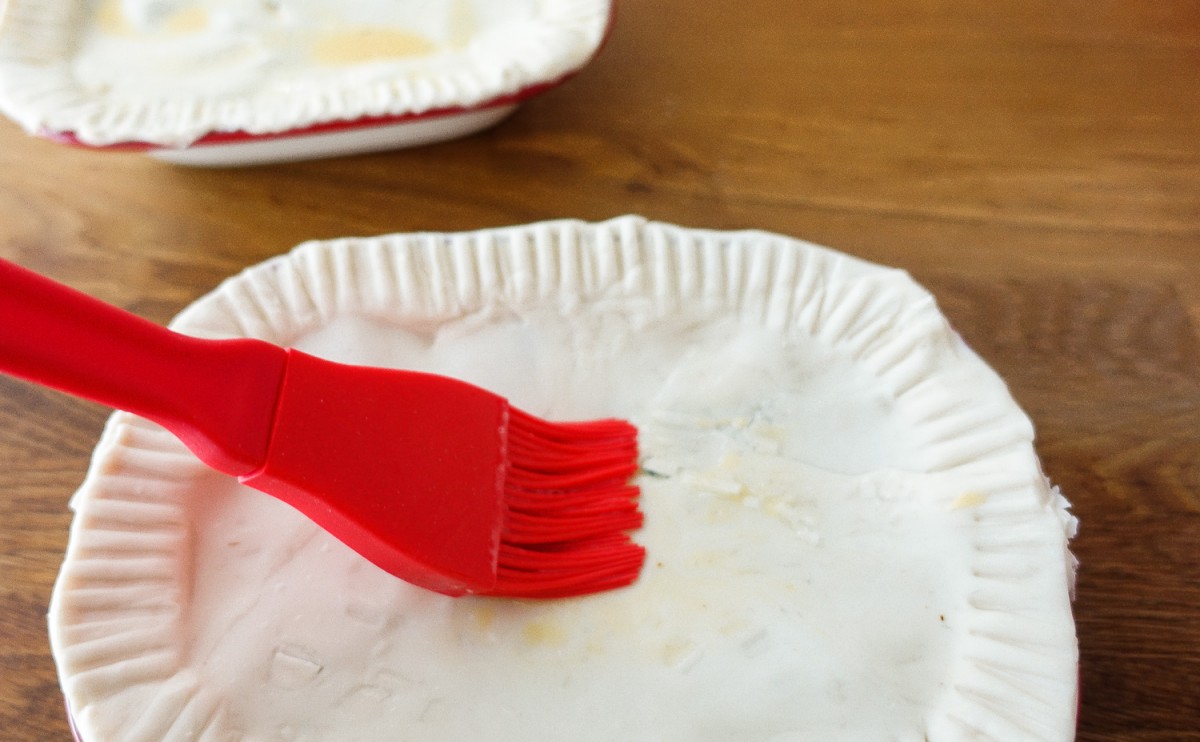
Add a splash of milk to the leftover egg, mixing well, and brush this mixture on the top of the pies for a lovely golden and crispy finish. Bake the pies at 200°C for 10 minutes, then at 180°C for 30 minutes or until golden brown.
Notes
- These pies are delicious hot or cold with a dollop of tomato ketchup.
- You can add a teaspoon of worchestershire to the eggs after beating, or a sprinkling of chilli flakes if you like a bit of heat.
- If you’re looking for other awesome pie recipes, check out this article on www.metro.co.uk to see 11 other pies to try.
Recipe adapted from my mum’s instructions sent via text message
Walnut and banana loaf with chocolate butter
Tried and true
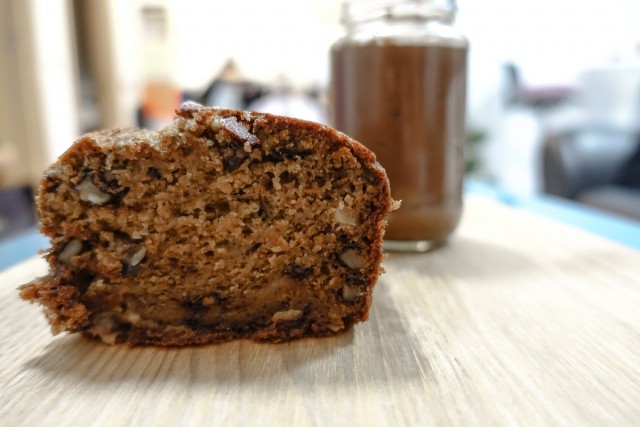
I grew up eating mum’s banana bread, with little dots of banana in a dense loaf and always with a smear of butter. This banana loaf is next level; moist, rich, with tones of caramel and speckles of deliciously crunchy nuts. As a child I may have preferred mum’s more traditional banana bread but now that I’m (ahem) a little older, this is definitely a favourite in our house.
Method
Step 1
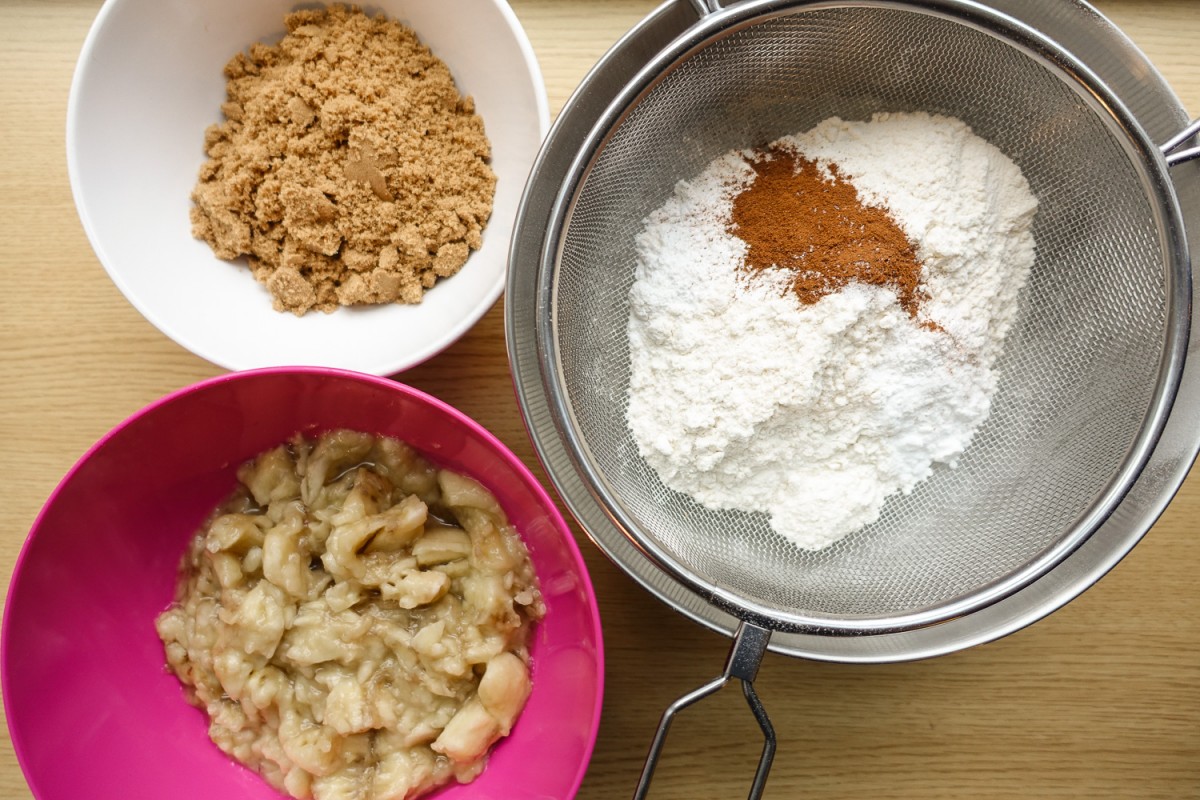
Preheat your oven to 170°C. Scatter the walnuts on a baking tray and pop them in the oven to roast for about 5 minutes, or until they smell toasty. While the nuts are roasting, peel the bananas and mash them up using a fork until you have a mixture of smooth and chunky, and set aside for later.
Step 2
Cream the butter and sugar together in a food processor, or by hand, until smooth and pale. Beat the eggs in one by one until you have a smooth batter. If you need to, transfer the mix to a large bowl ready to take on the rest of the ingredients.
Step 3
Take the roasted walnuts and chop roughly so you have a variety of textures from halved to finely chopped. Add the chopped walnuts and mashed bananas to the bowl of batter, then sift in the flour, baking powder, bicarbonate of soda, cinnamon, and salt. Mix everything together well to combine.
Step 4
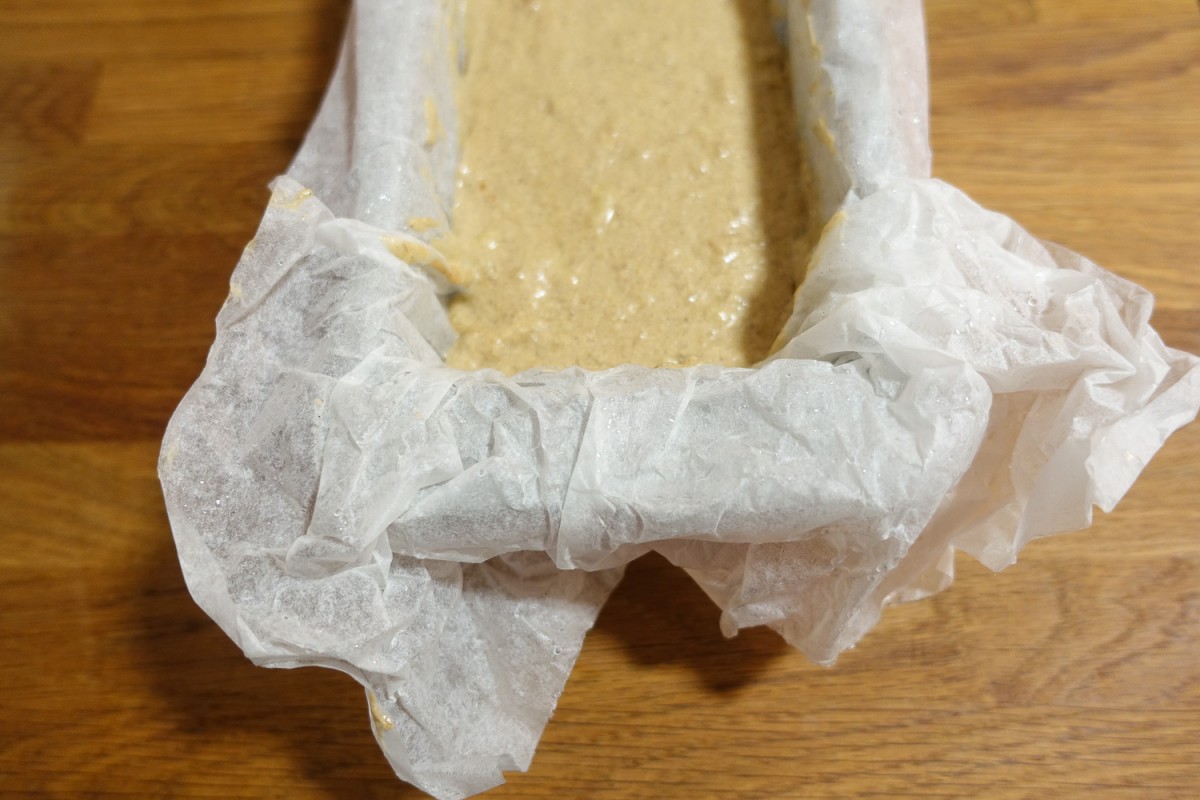
Line a loaf tin with baking paper – this is where a bit of Jamie Oliver flair comes in. Jamie’s recipe recommends scrunching the paper under a running tap, then drizzling olive oil over both sides of the paper and pushing it into the loaf tin. I have to say this seems to make the crust a little crunchier on the bottom and is worth the tiny extra bit of effort. Once the loaf tin is lined, pour in the batter and pop in the oven for an hour. Test if the loaf is cooked by poking a skewer or knife in the middle – if it comes out clean the loaf is cooked, otherwise you will need to put the loaf back in the oven for a few more minutes.
Step 5
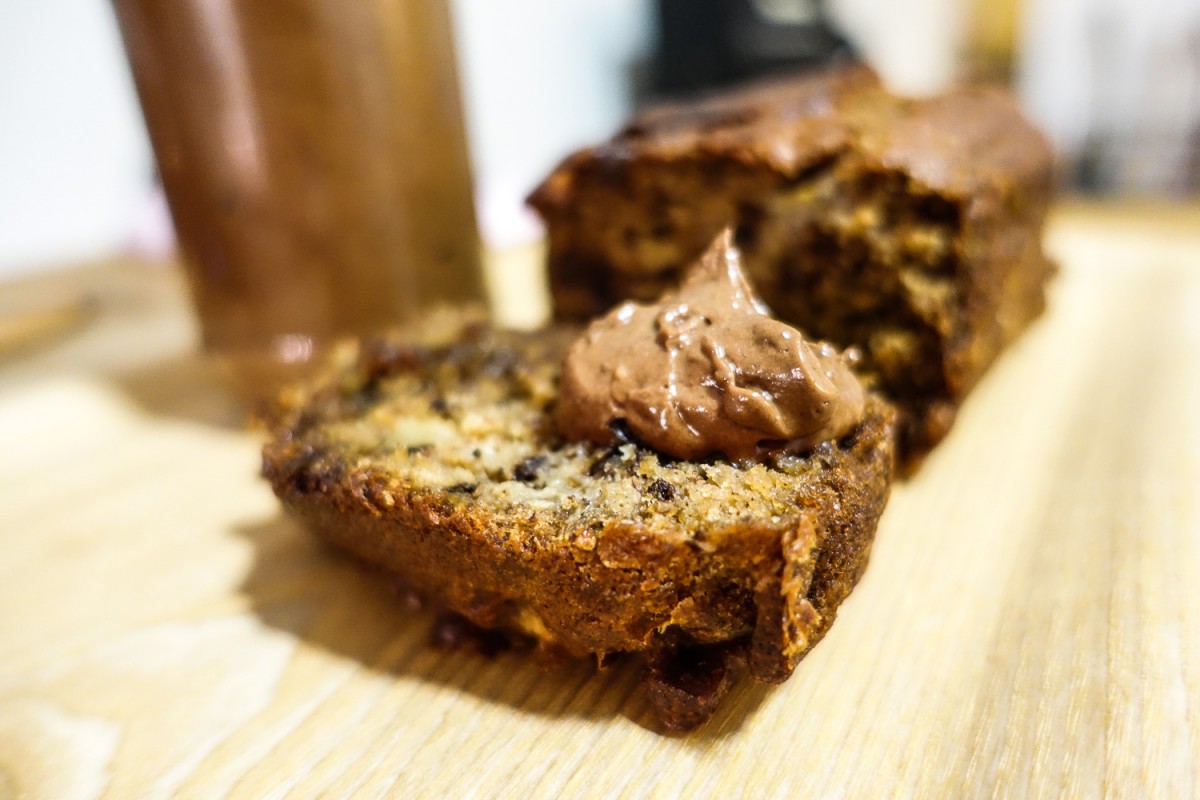
While the loaf is cooking you can make the delicious chocolate orangey butter. Break up 100 grams of good quality chocolate (at least 70% cocoa solids) up into small pieces, taking care not to sneak too much into your mouth, and melt gently in the microwave or in a heatproof bowl over a pan of simmering water (just make sure the bowl and the water don’t touch). When the chocolate has melted, stir in the zest of 2 oranges and leave the mixture to cool.

Step 6
Cream together 150 grams unsalted butter and 80 grams icing sugar, then beat in the cooled chocolate until the mixture is even and fluffy. Transfer the mixture to a jar or dish. You can eat it straight away or put it in the fridge for a few hours to cool and harden – you will need to let it soften out of the fridge for a 20 minutes or so before you tuck in.
Notes
- The riper the bananas, the better! I’ve used seriously overripe bananas and the bread turns out so moist and soft. Definitely worth waiting an extra day or two for the bananas to ripen up.
- You can substitute the walnuts with or mix in pecans up to 100 grams. Pecans get delicious toasty and crunchy and pair well with the caramelly banana.
- If you have leftover chocolate butter (gasp!), it will keep in the fridge for a day or so and go beautifully on anything warm and toasty – bread, waffles, pancakes, muffins.
Recipe adapted from Jamie Oliver’s walnut and banana loaf as seen on www.jamieoliver.com
White chocolate and macadamia cookies
Tried and true
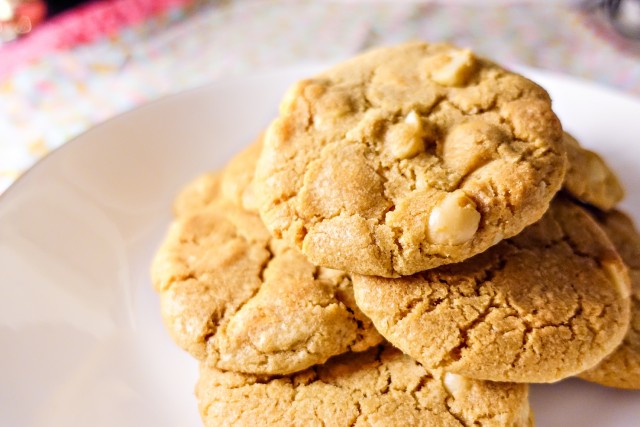
These are my husband’s favourite cookies which, fortunately for me, are ridiculously easy to make. A bit of machinery in the form of a stand mixer helps with the labour and washing up, but if you don’t have such fancy equipment these cookies are still a cinch. You can adjust the amount of cooking time if you like your cookies soft and chewy or a little crispier, though don’t leave them in the oven too long or the macadamias will start to taste funky (and not the good kind!). If you’re feeling extra generous these always go down a treat with family and friends – just bear in mind if you do this that you’ll be asked to make them on a regular basis!
Method
Step 1
Preheat oven to 160°C. Cube and soften the butter so it’s squidgy but not turning to liquid. Add the softened butter, brown and white sugars, and vanilla in an electric mixer and beat for 8–10 minutes or until pale and creamy. If you don’t have an electric or stand mixer, you can do this by hand – it’ll take you a little longer but the result will be equally as delicious. Scrape down the sides of the bowl and add the egg, beating well to combine.


Step 2
Add the flour, baking powder, and salt and beat on low until a dough forms. Fold through the chocolate and nuts until they are evenly distributed.
Step 3
Now to roll out the cookie dough into balls, ready for baking – it’s easiest to do this with wet hands to prevent the dough from sticking. Roll a generous dessert spoonful of dough into balls and place on lightly greased baking trays lined with non-stick baking paper, allowing room to spread. Flatten the balls slightly and bake for 15–18 minutes or until a light golden colour. Leave the cookies to cool on the tray before serving or storing.

Notes
- Leaving the cookies on the tray to cool after you’ve removed them from the oven helps them to form a crispy bottom. I leave them on the trays for about 10 minutes before moving to a rack to completely cool (or directly to a plate with a glass of milk!).
- If you like your cookies chewy in the centre, cook for around 15 minutes or until the cookies are a very light golden colour around the edge.
- I use baked macadamia nuts in this recipe as they’re more flavoursome – if you are using raw macadamia nuts, you can toast them in the oven before making the cookies.
Recipe adapted from Donna Hay’s white chocolate and macadamia chip cookies as seen on www.donnahay.com.au